
When I purchased my Sharp Willcom D4 I intended to take it everywhere I went. It was, after all, a portable device so it made sense that it would be my new best friend away from home. I thought that having access to a full desktop environment while on the move would be helpful at times, and also give me a chance to goof off and tinker with computer-related stuff (even when I was supposed to be out and doing something else entirely).
My initial impressions of the device were pretty positive. After having the device for a couple of weeks I started referring to “him” simply as Will. I employed the wonderful tailoring services of my wife to extend my pocket on the jeans I wore most often so I could take Will with me everywhere I went. It worked splendidly. Every time I was out with Will, people were invariably interested in him. He was a real conversation starter to say the least.
Now that I’ve ranted and raved about how great our relationship was in the beginning, I guess I should address some of Will’s shortcomings. I’m not sure how or why the engineers at Sharp didn’t notice his horrible Wi-Fi reception. The antenna was an internal design similar to most laptops. However, Will was somewhat lifeless without internet access.
In most case I struggled to get more than 1-3 bars, even when close to a Wi-Fi signal. It was a real hassle to find Wi-Fi spots that I could actually use. Most of the time I could not see any networks and if I did the signal was so weak that I couldn’t connect to it.
I spent some time on the forums such as Pocketables and spent a ton of time on Japanese forums trying to figure out how to improve Wi-Fi reception. The best thing I found was a newer driver from a different device that shared the same Marvell chip. It helped a little and gave me slightly better connectivity. I was moving in the right direction at that point.
While I had improved Wi-Fi connectivity I still was unhappy with the performance. Will was a great device but one that was crippled because of the Wi-Fi trouble. I decided to go a different direction and see if I could make a hardware upgrade to fix this. At first I tinkered around with internal antennas from other laptops. I pulled Will apart and swapped out his factory antenna for a different one from a HP laptop. This swap netted me a little better reception, and at that point I realized I was onto something with the antenna.
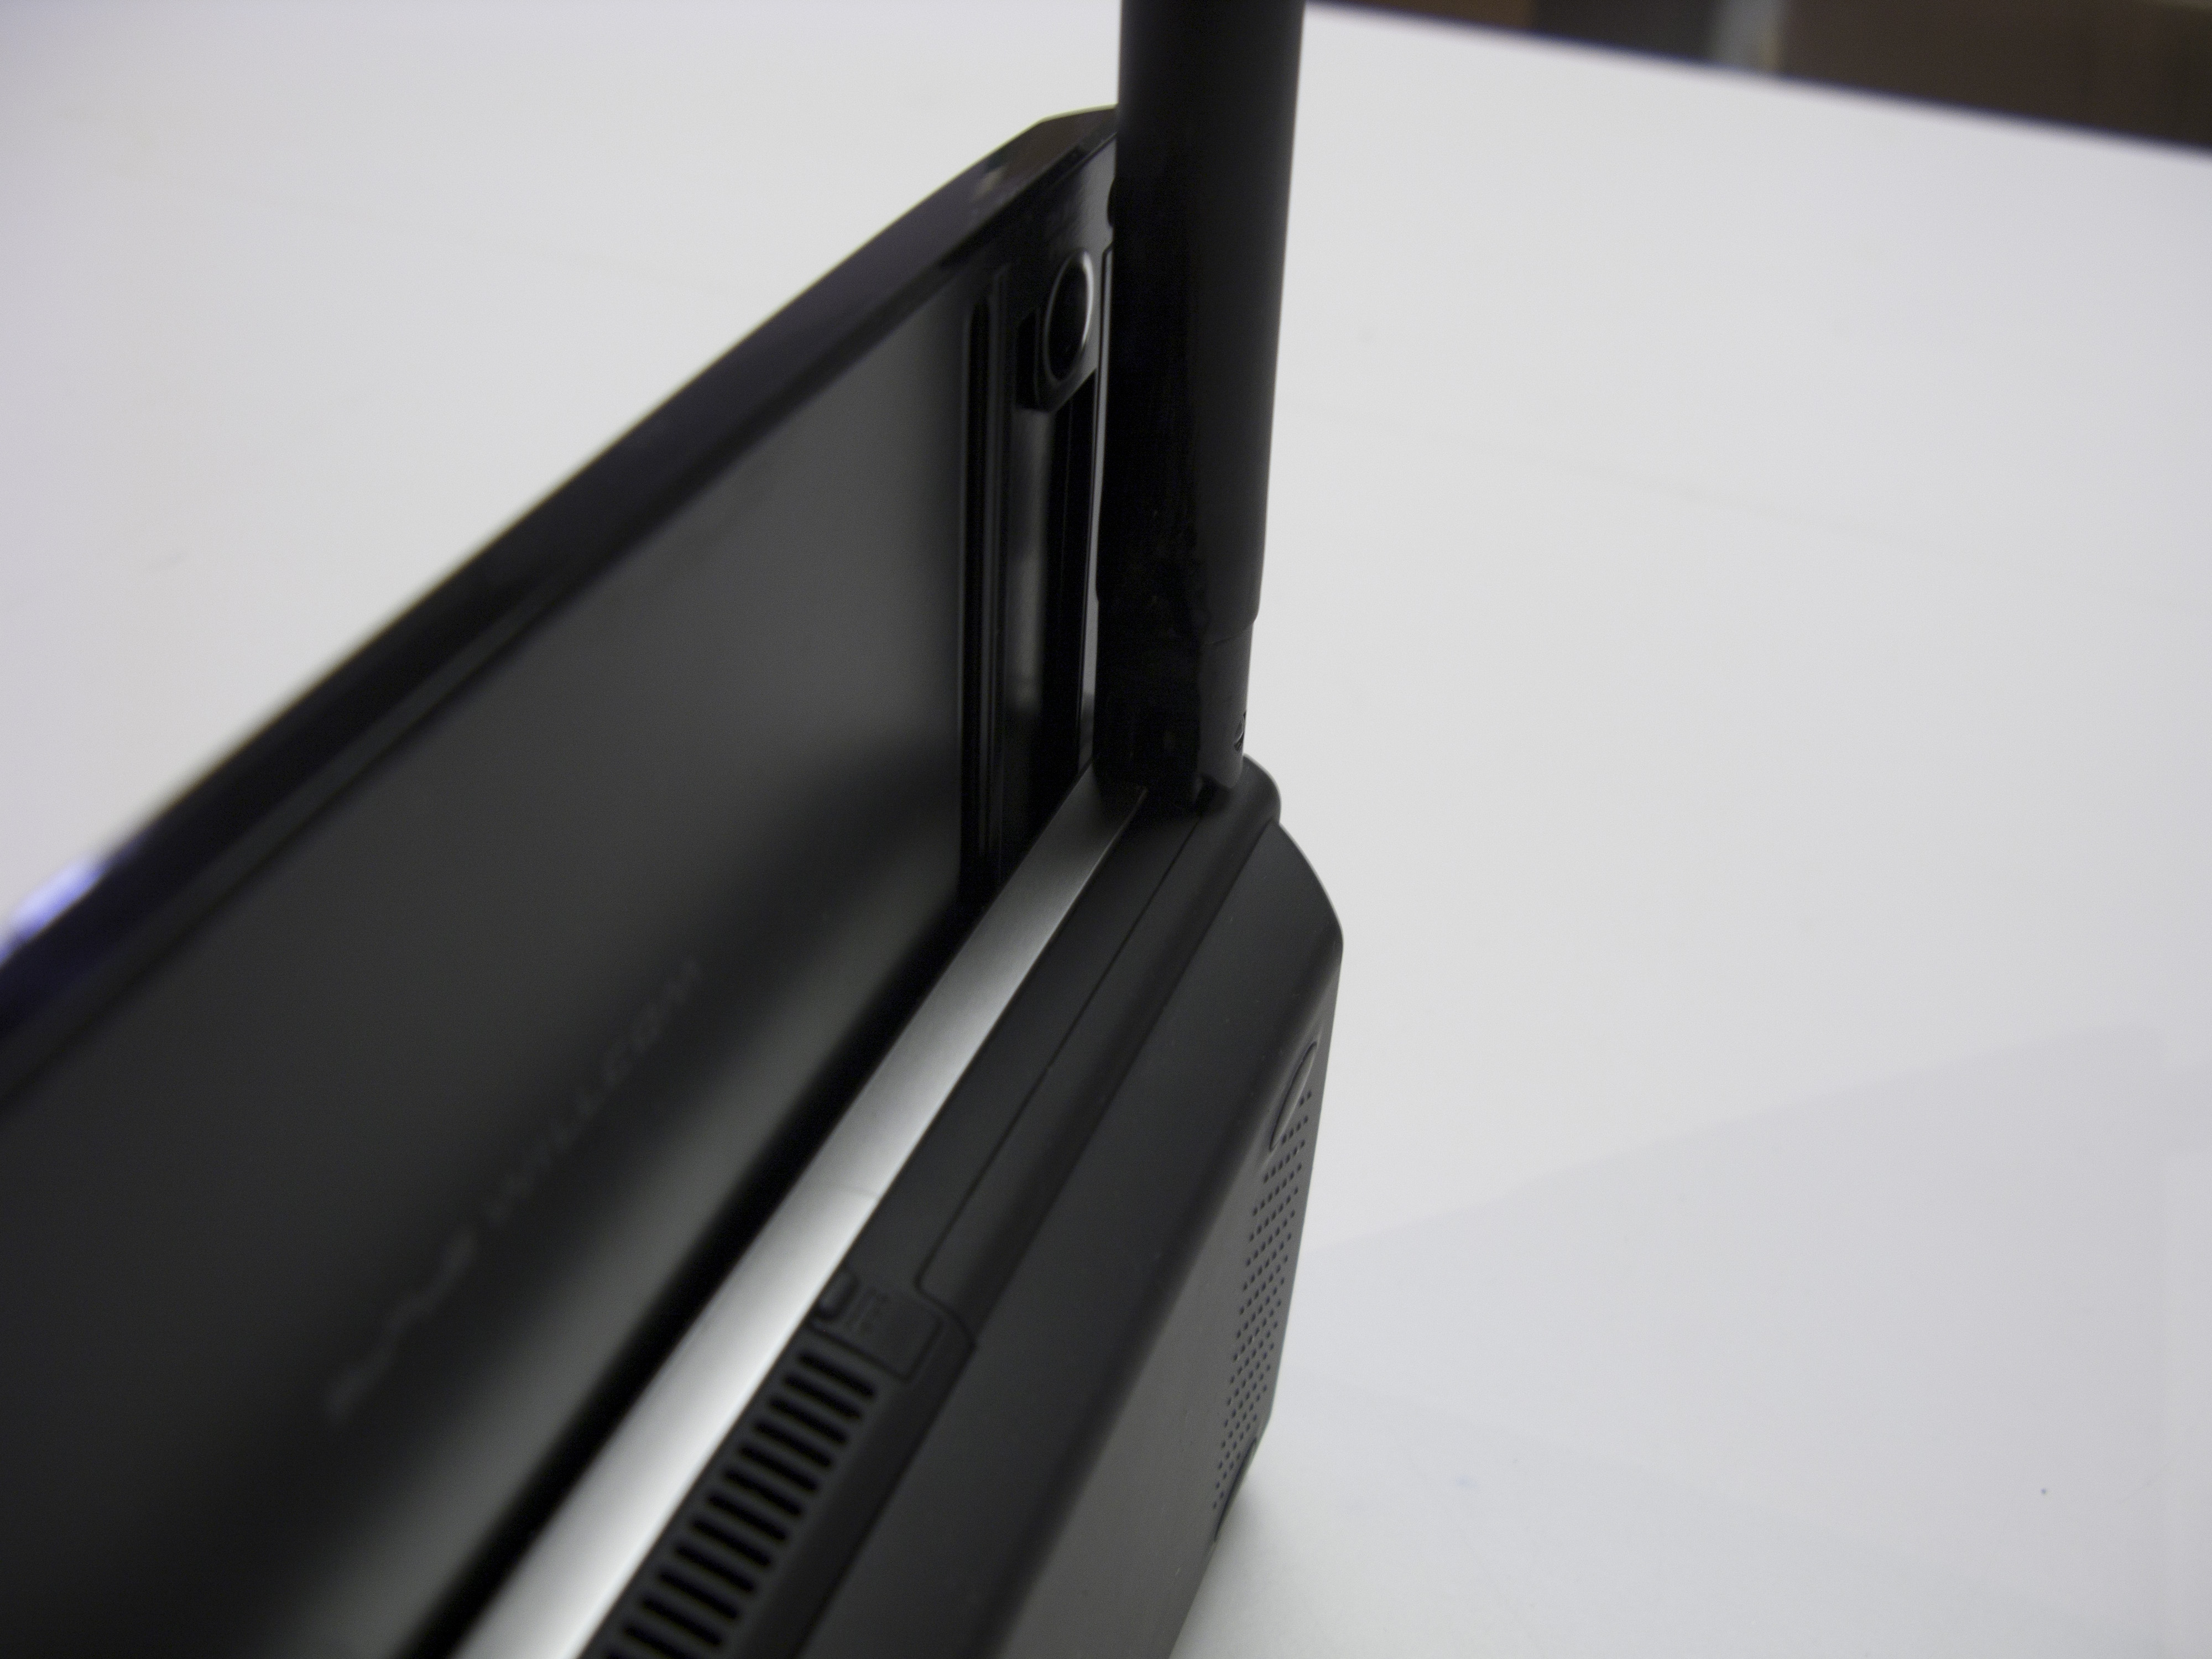
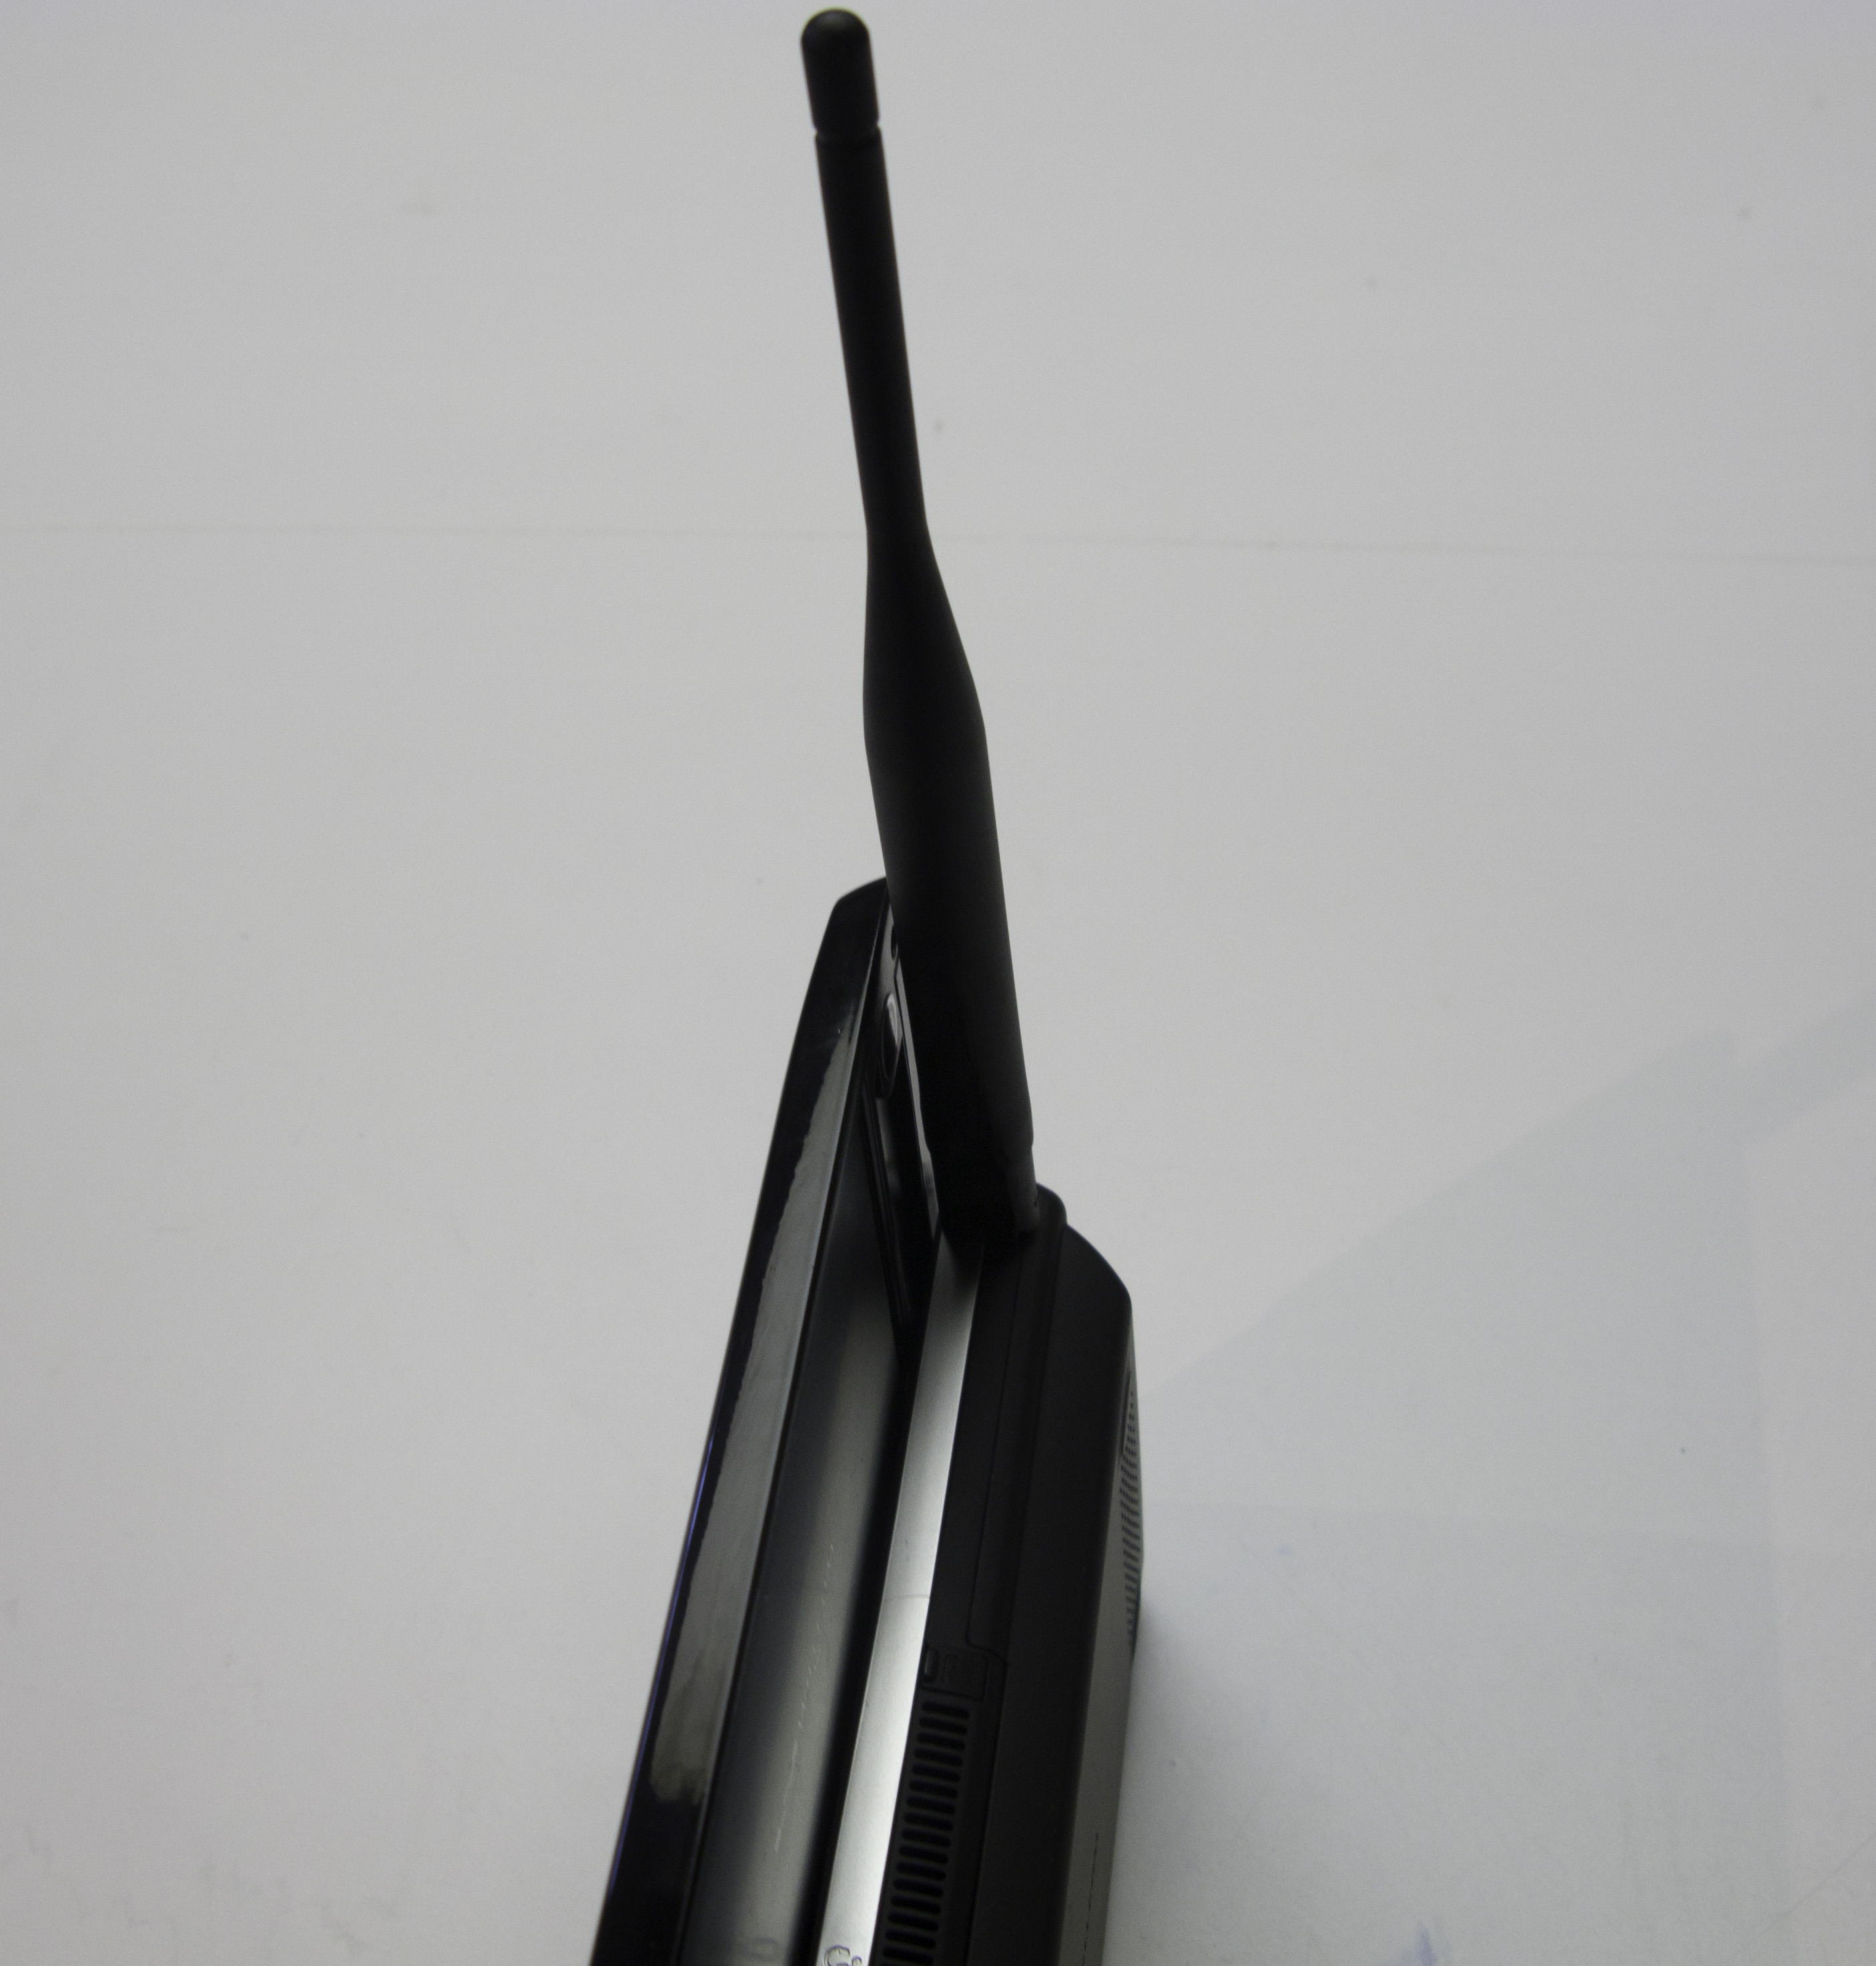
I spent some time trying to research the best approach for fixing the antenna. After a while, I decided that only an external antenna would give me the performance I required. I knew I needed something with a higher gain than any internal antenna could offer. I searched on some of my favorite electronics websites until I found what I thought was the perfect external antenna. Its length matched Will’s and it already had the antenna with correct UFL/SMA connector on it. It had a 90 degree joint on it as well, which was perfect for folding the antenna flat.
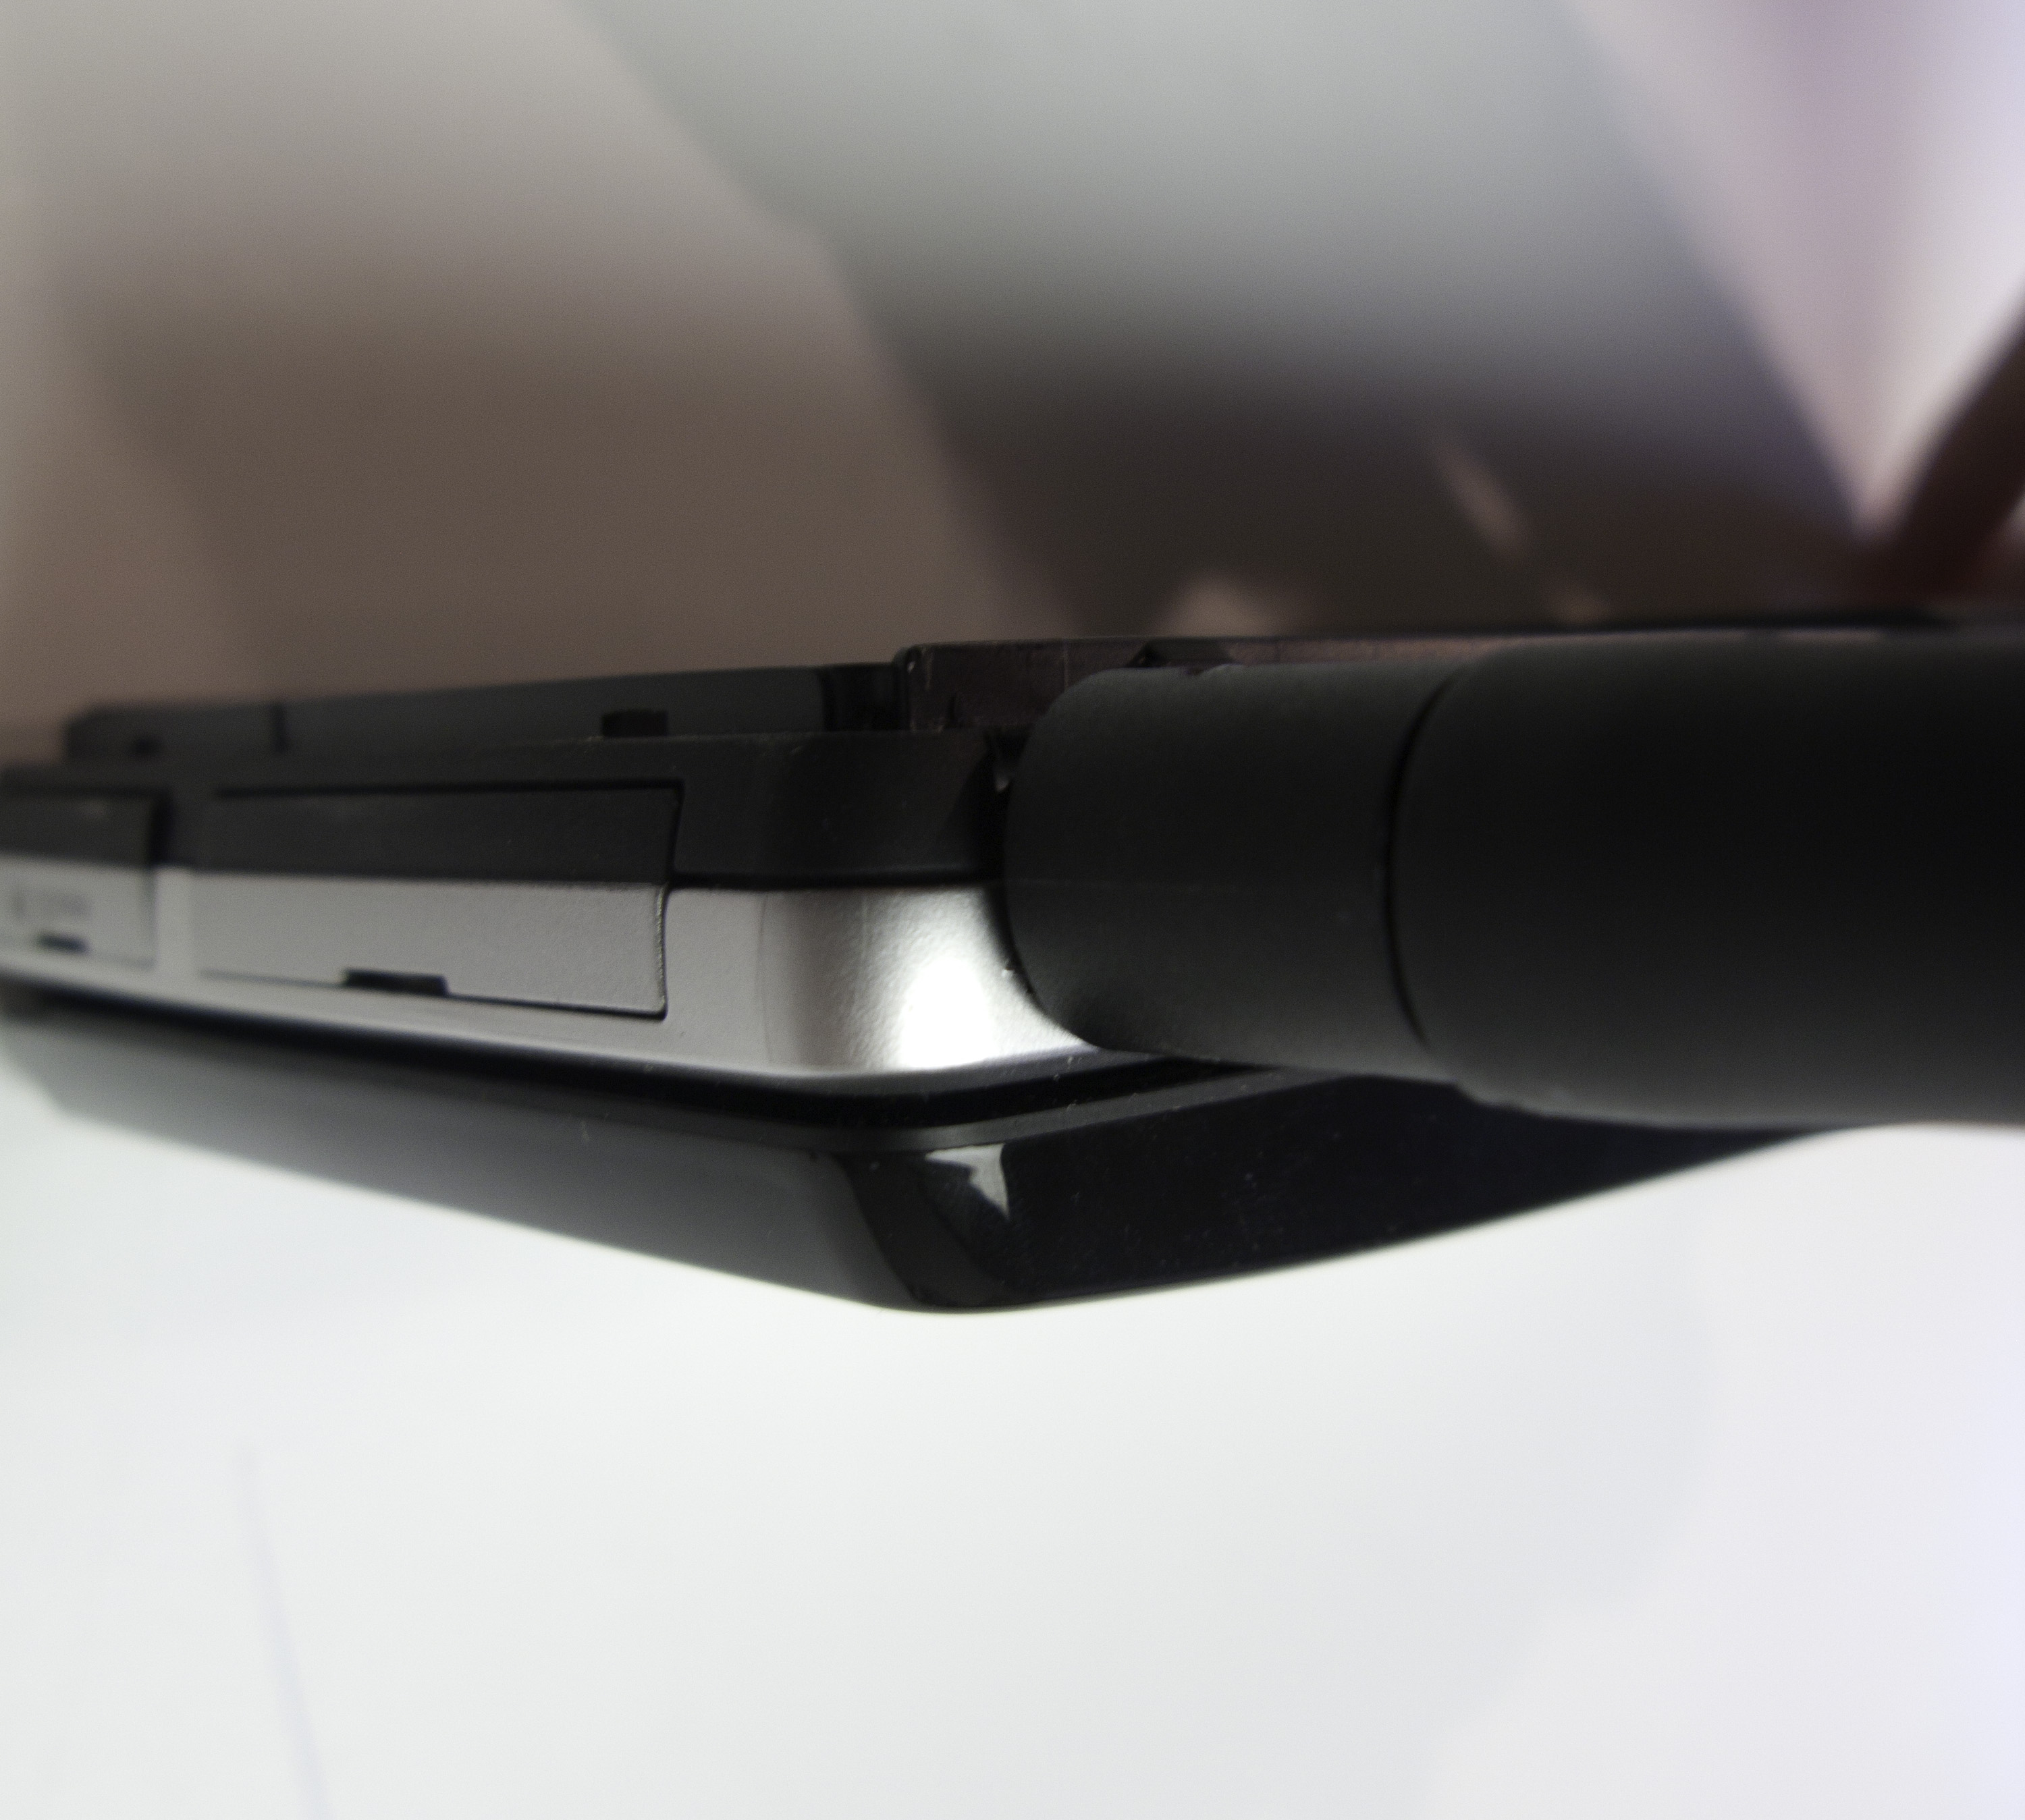
When I received the antenna I quickly tore Will down and assessed the best way to attach it to Will’s body. I quickly realized, based on how I held Will, that I would need the antenna on the top. I decided to go with the location right behind the battery for its placement. The antenna was not meant for this kind of install, so I ended up having to use a Dremel to carefully grind down the shape of the male end that protruded out the end of the antenna. After doing that I took an X-Acto knife and started to cut a small incision in the top of Will’s case. Then I went through and cut away all the places on the case where I needed the antenna to attach. There was not that much to cut away in reality, just a couple little edges.
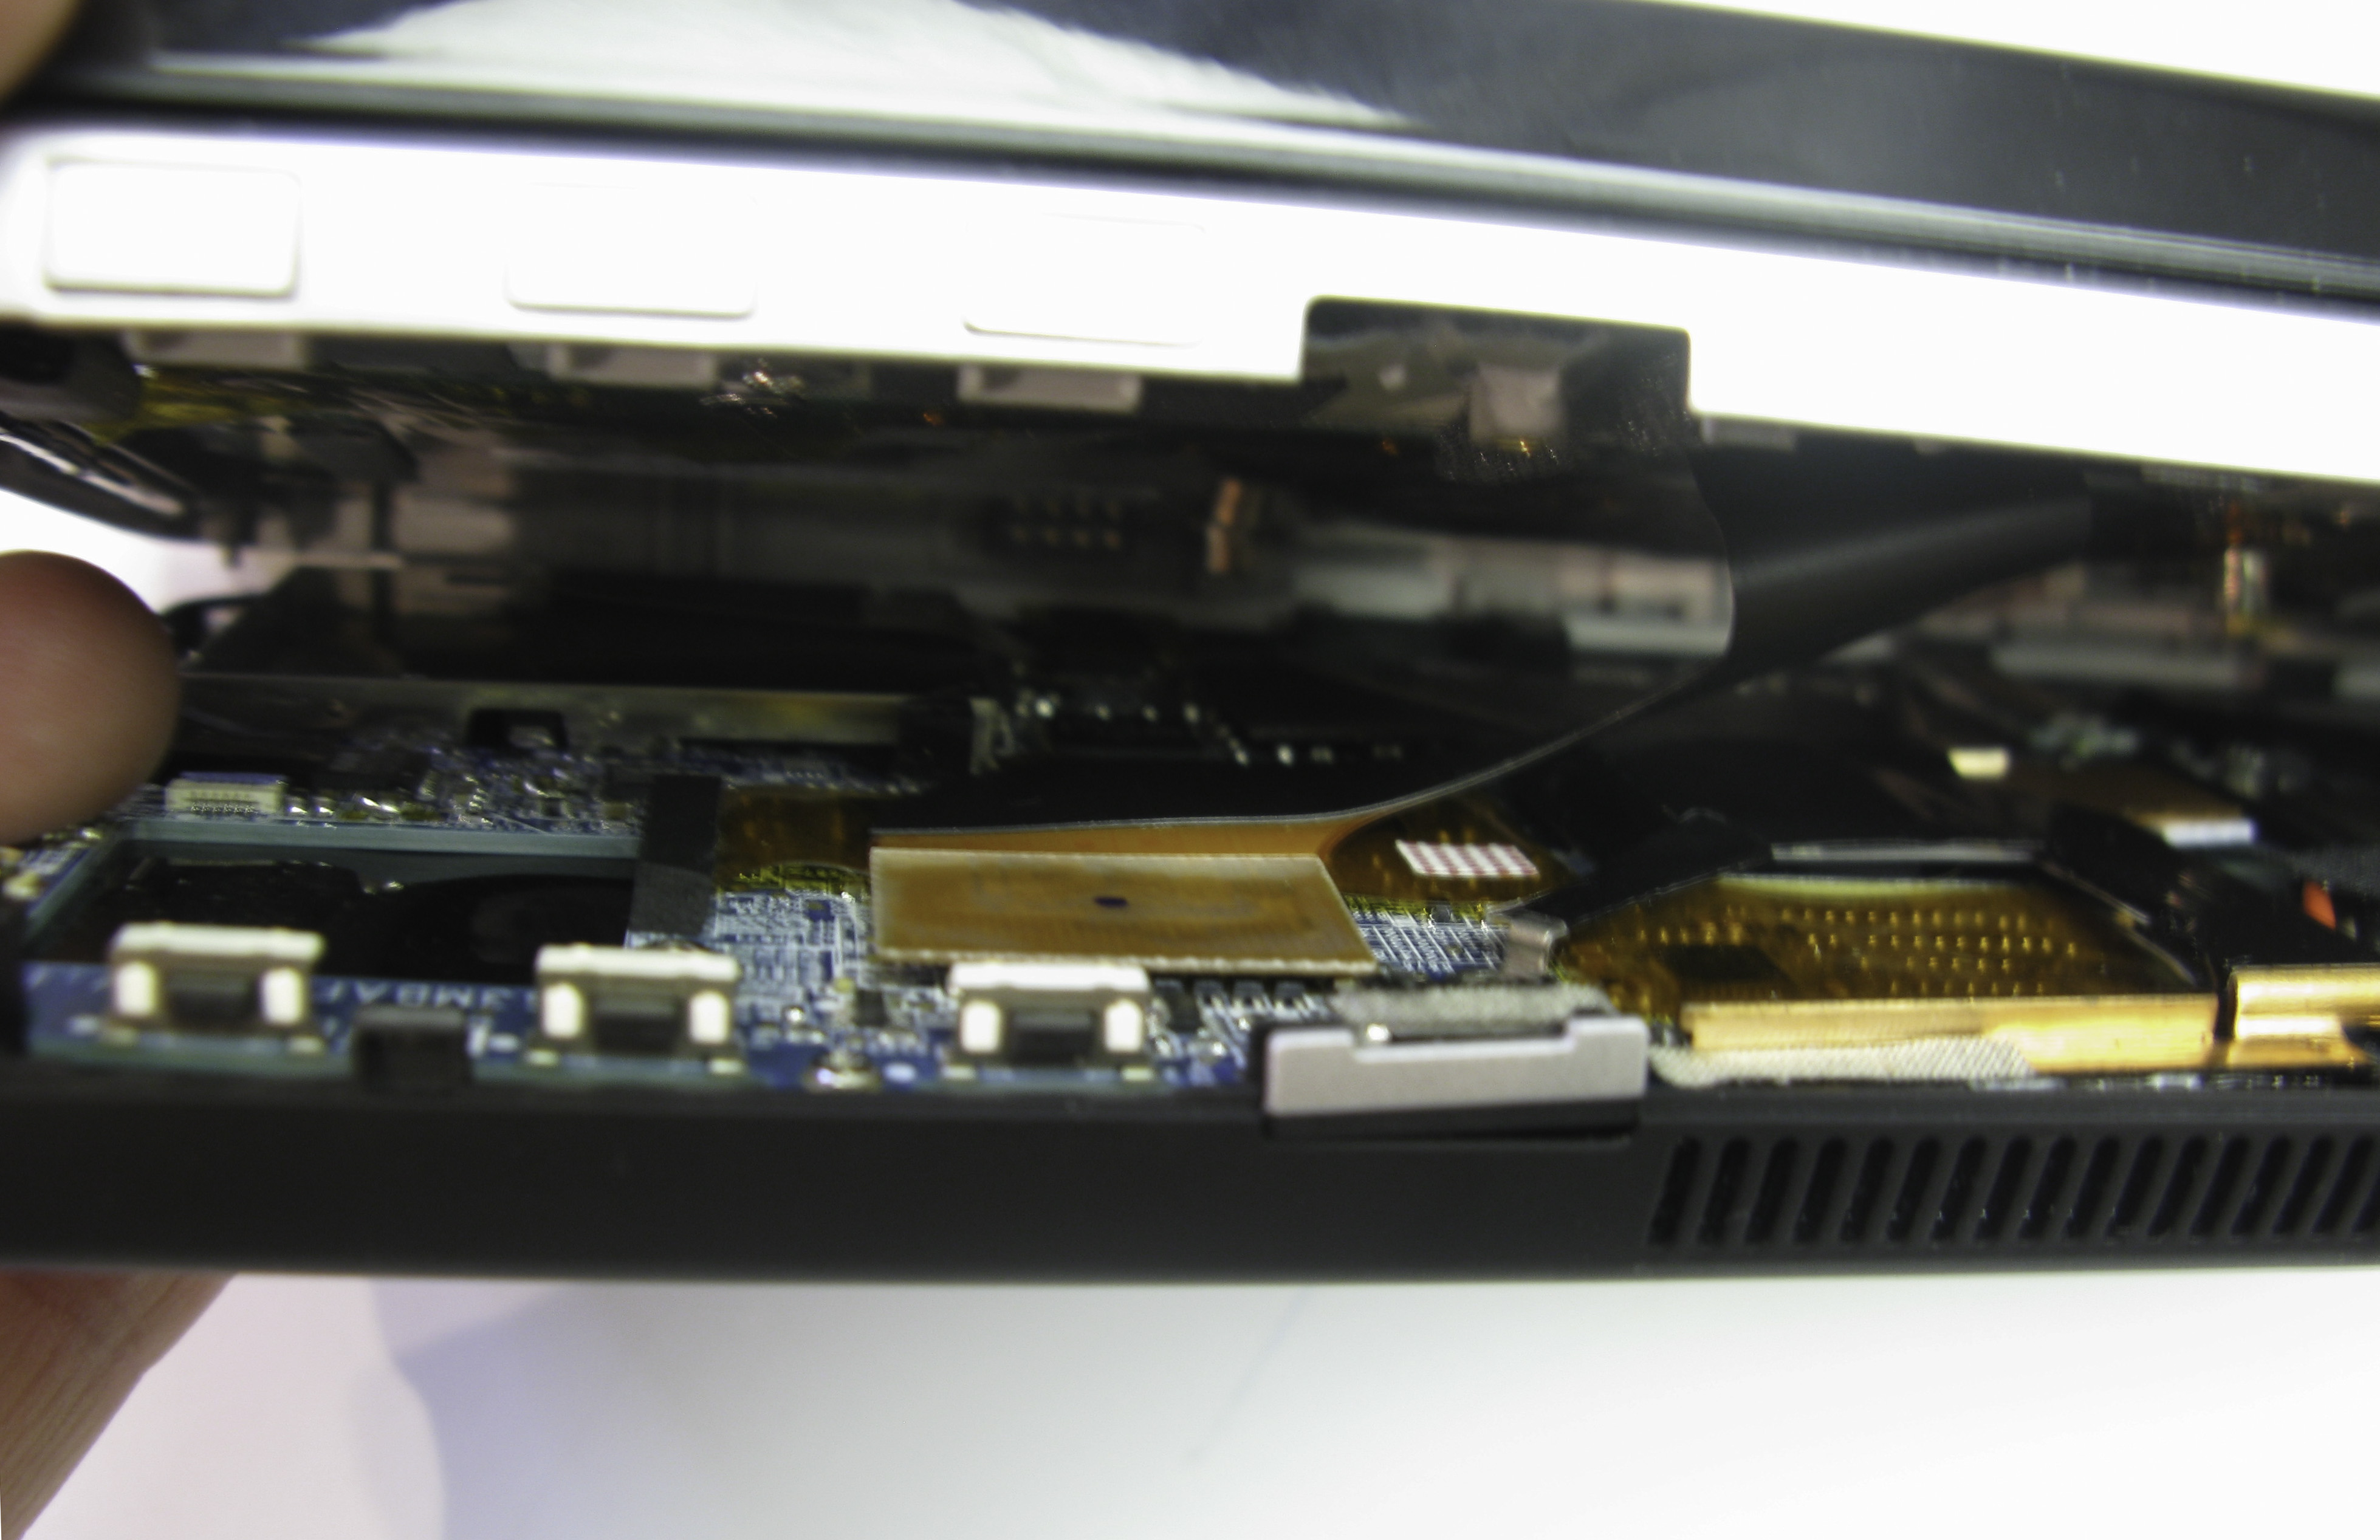
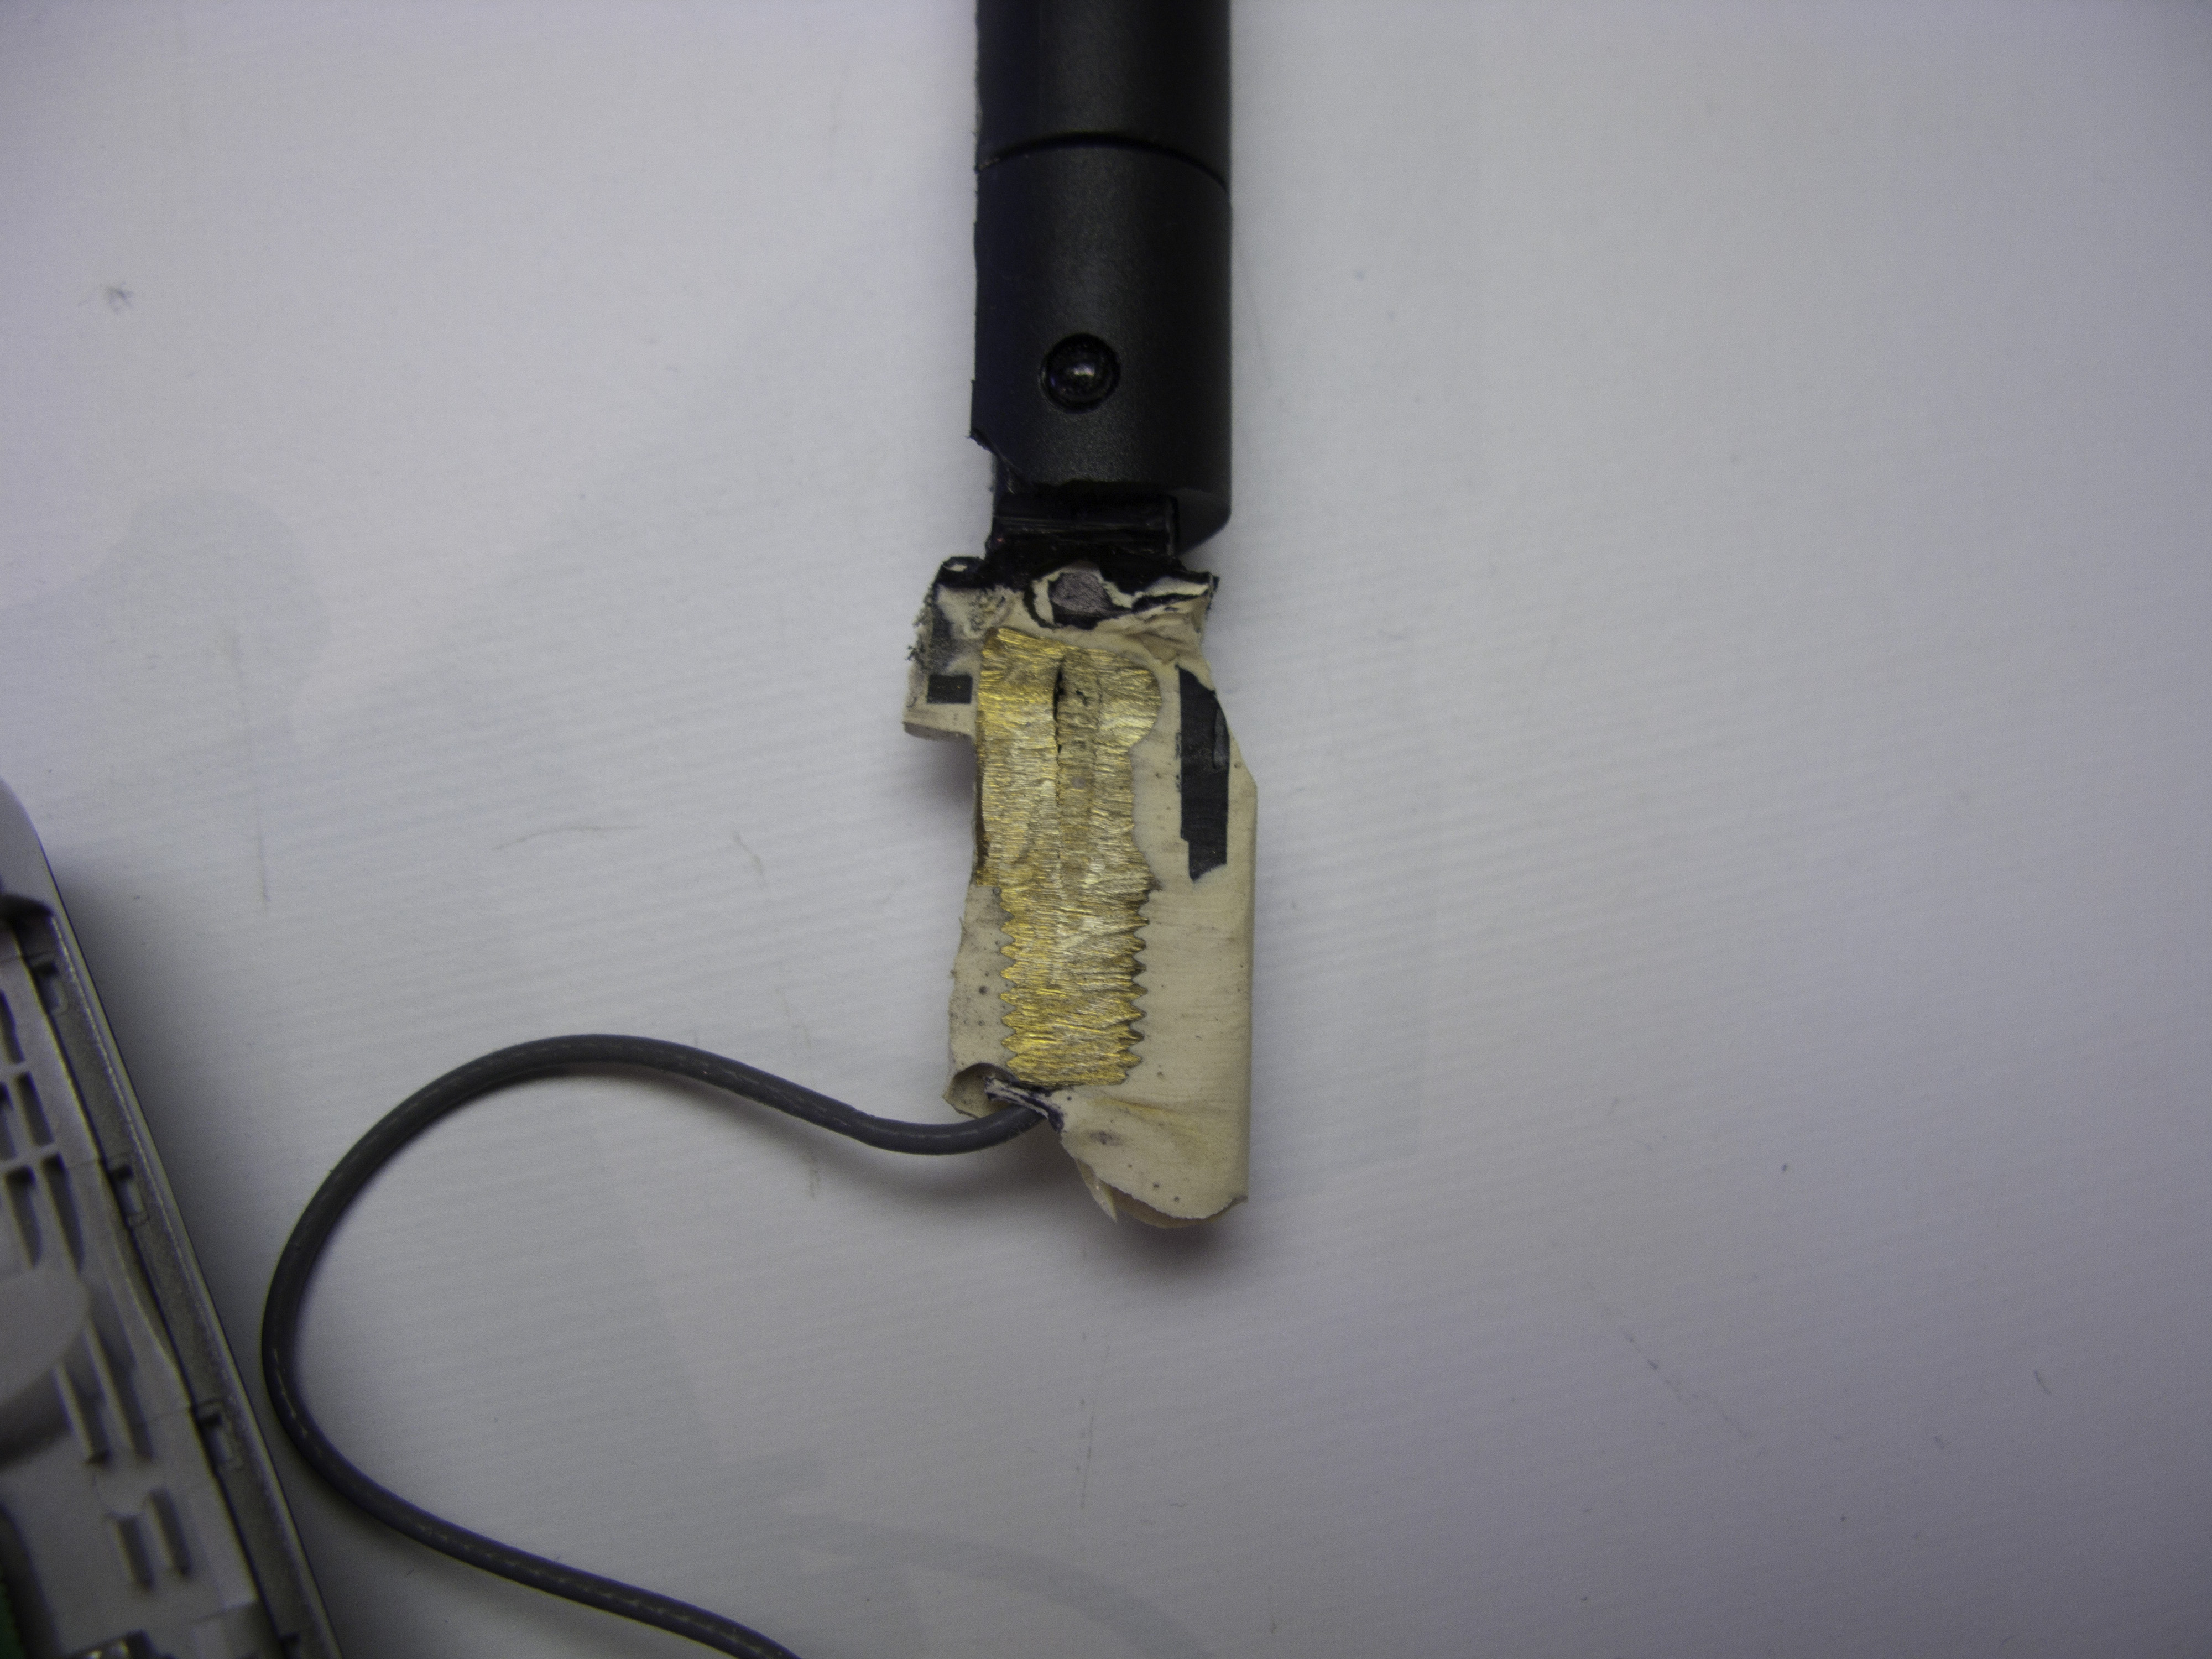
I installed the antenna temporarily first. I tried it out and thought it was pretty good for stability, but decided that I wanted it to be more rigidly mounted. After looking at the tight space I had to work with, I thought it would be best to make up a plug of epoxy that I could harden around the end of the antenna attachment point and then let dry in the exact shape of the assembled case. To do this I used wax paper and mixed up some two part epoxy. Then I wrapped the wax paper around the epoxy and installed it in the space for the antenna attachment. I sealed the case halves together and let it dry overnight. When I took the case apart the next day, I peeled back the wax paper to reveal my perfect plug that fit exactly in the case. I now had what looked like a tooth hanging off the end of the antenna. I used a Dremel and did a little more shaping of it until I was perfectly happy with the fit.
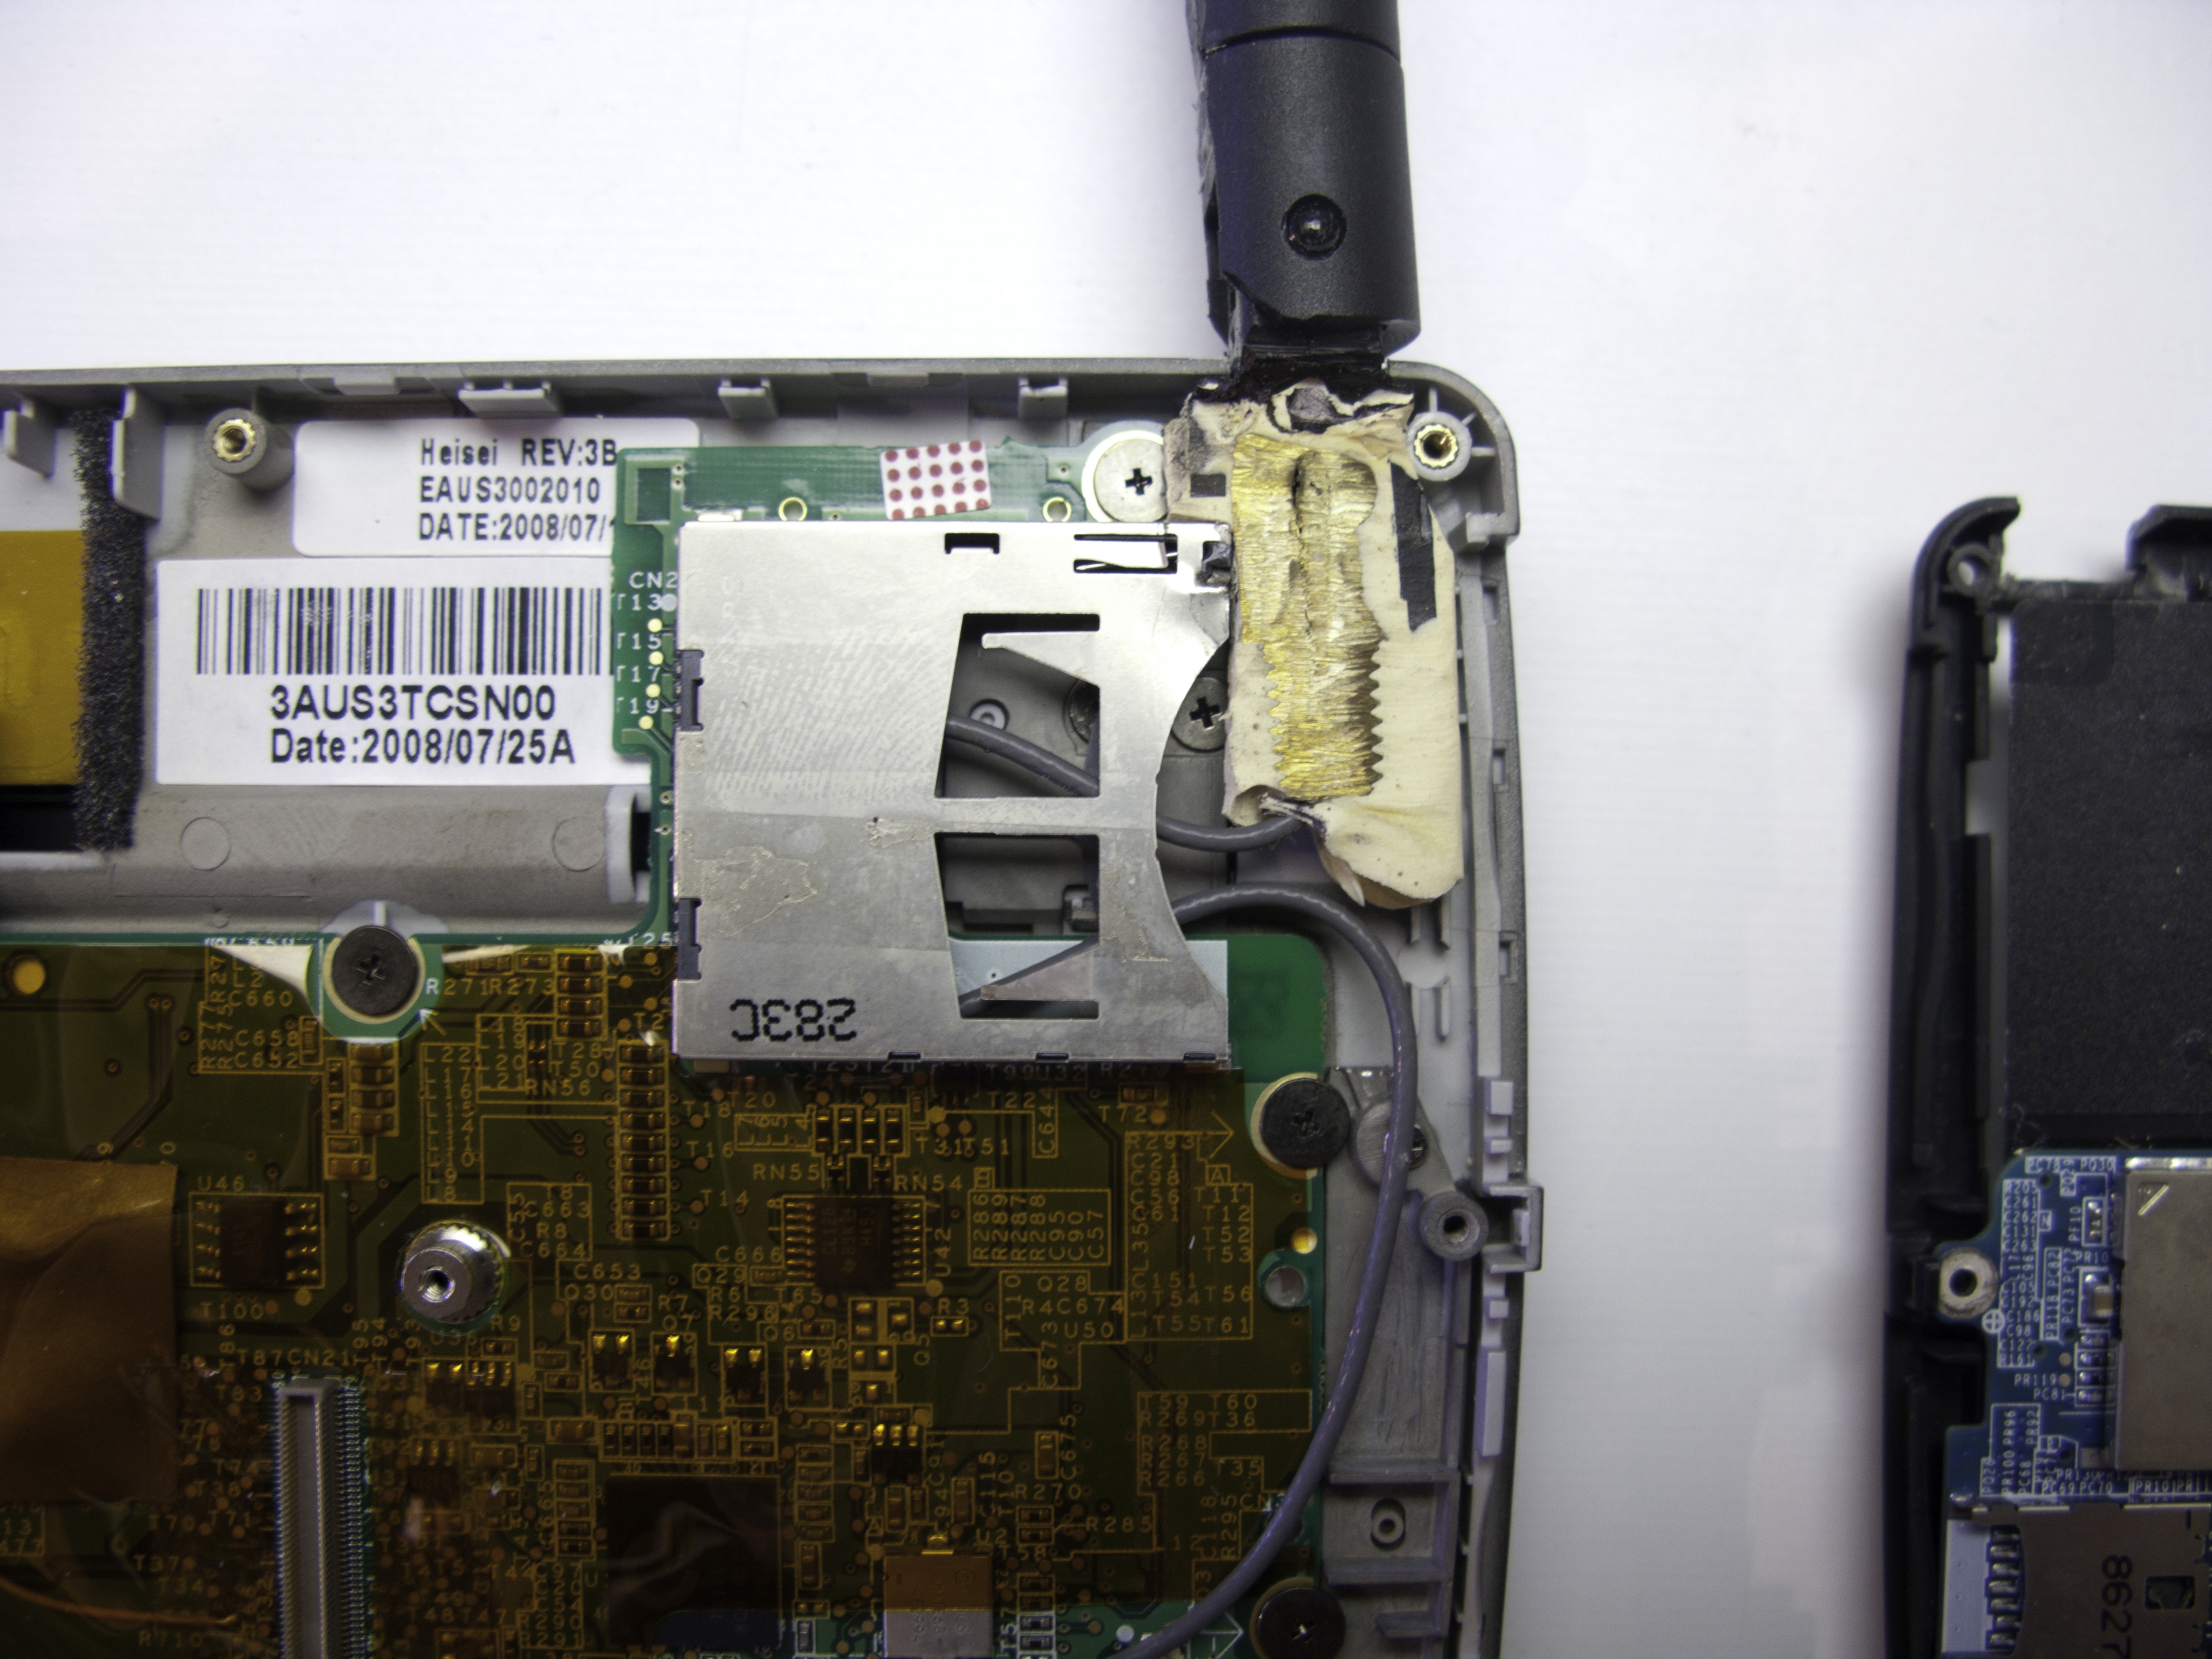
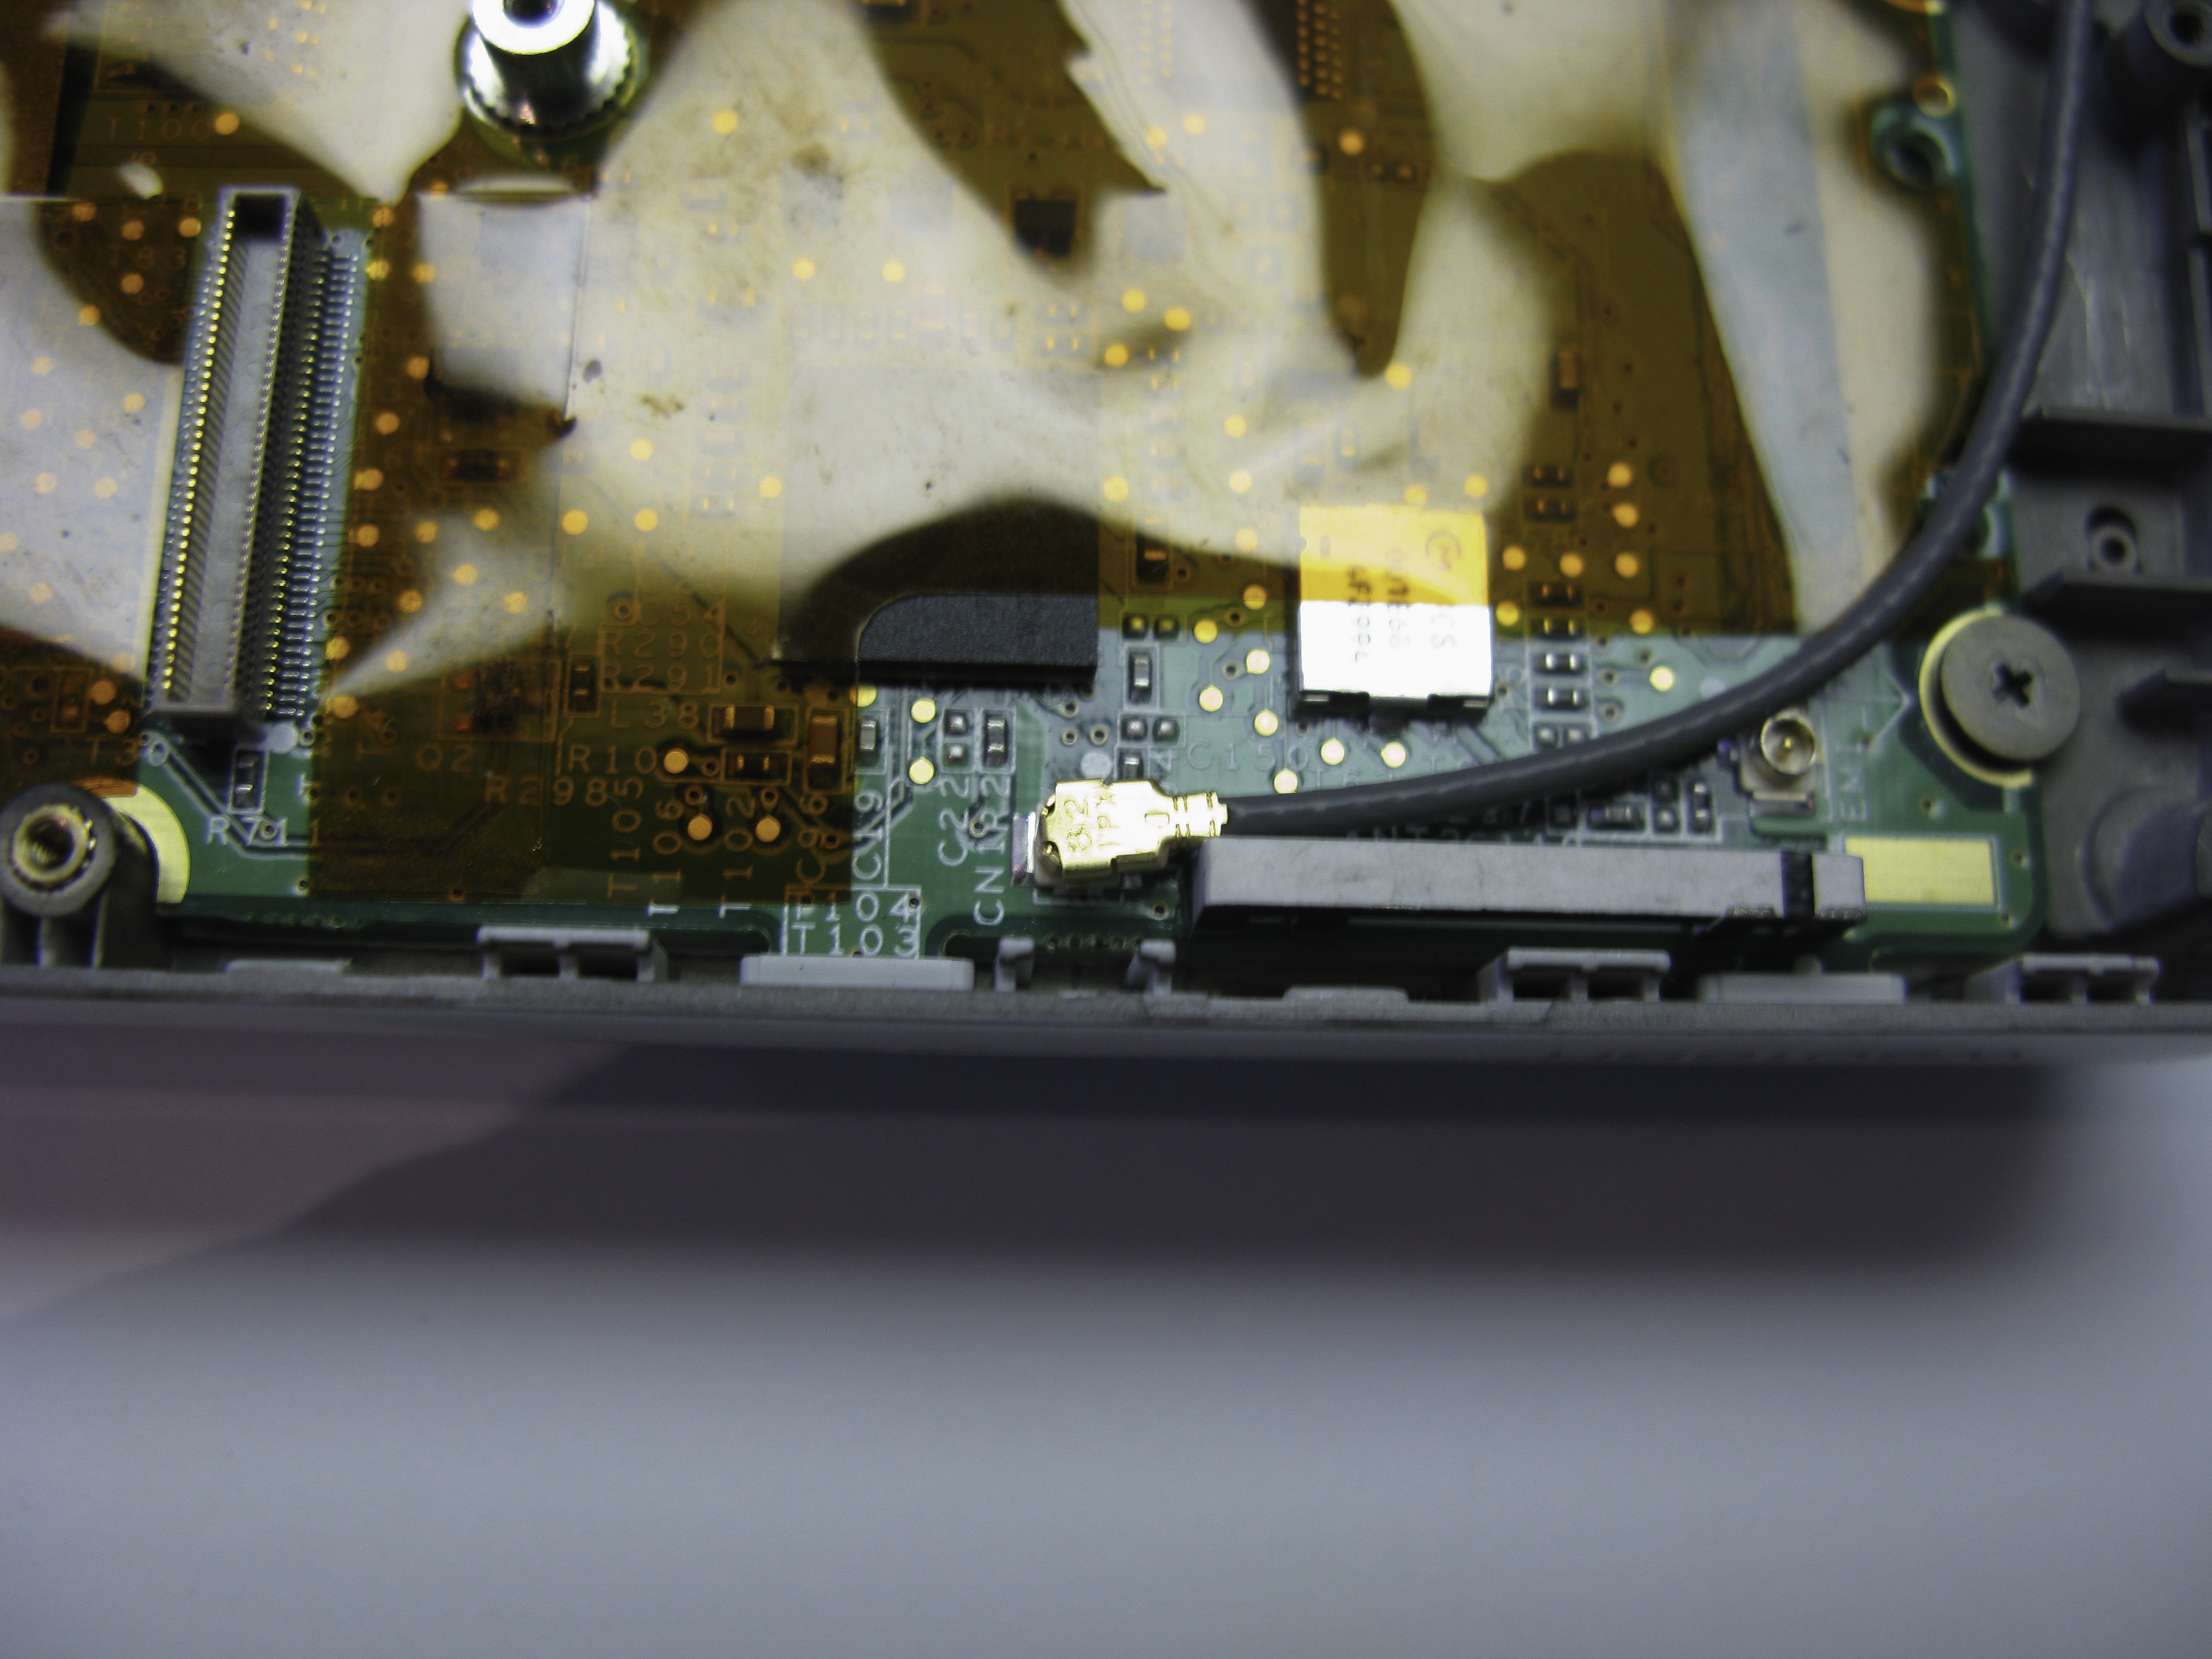
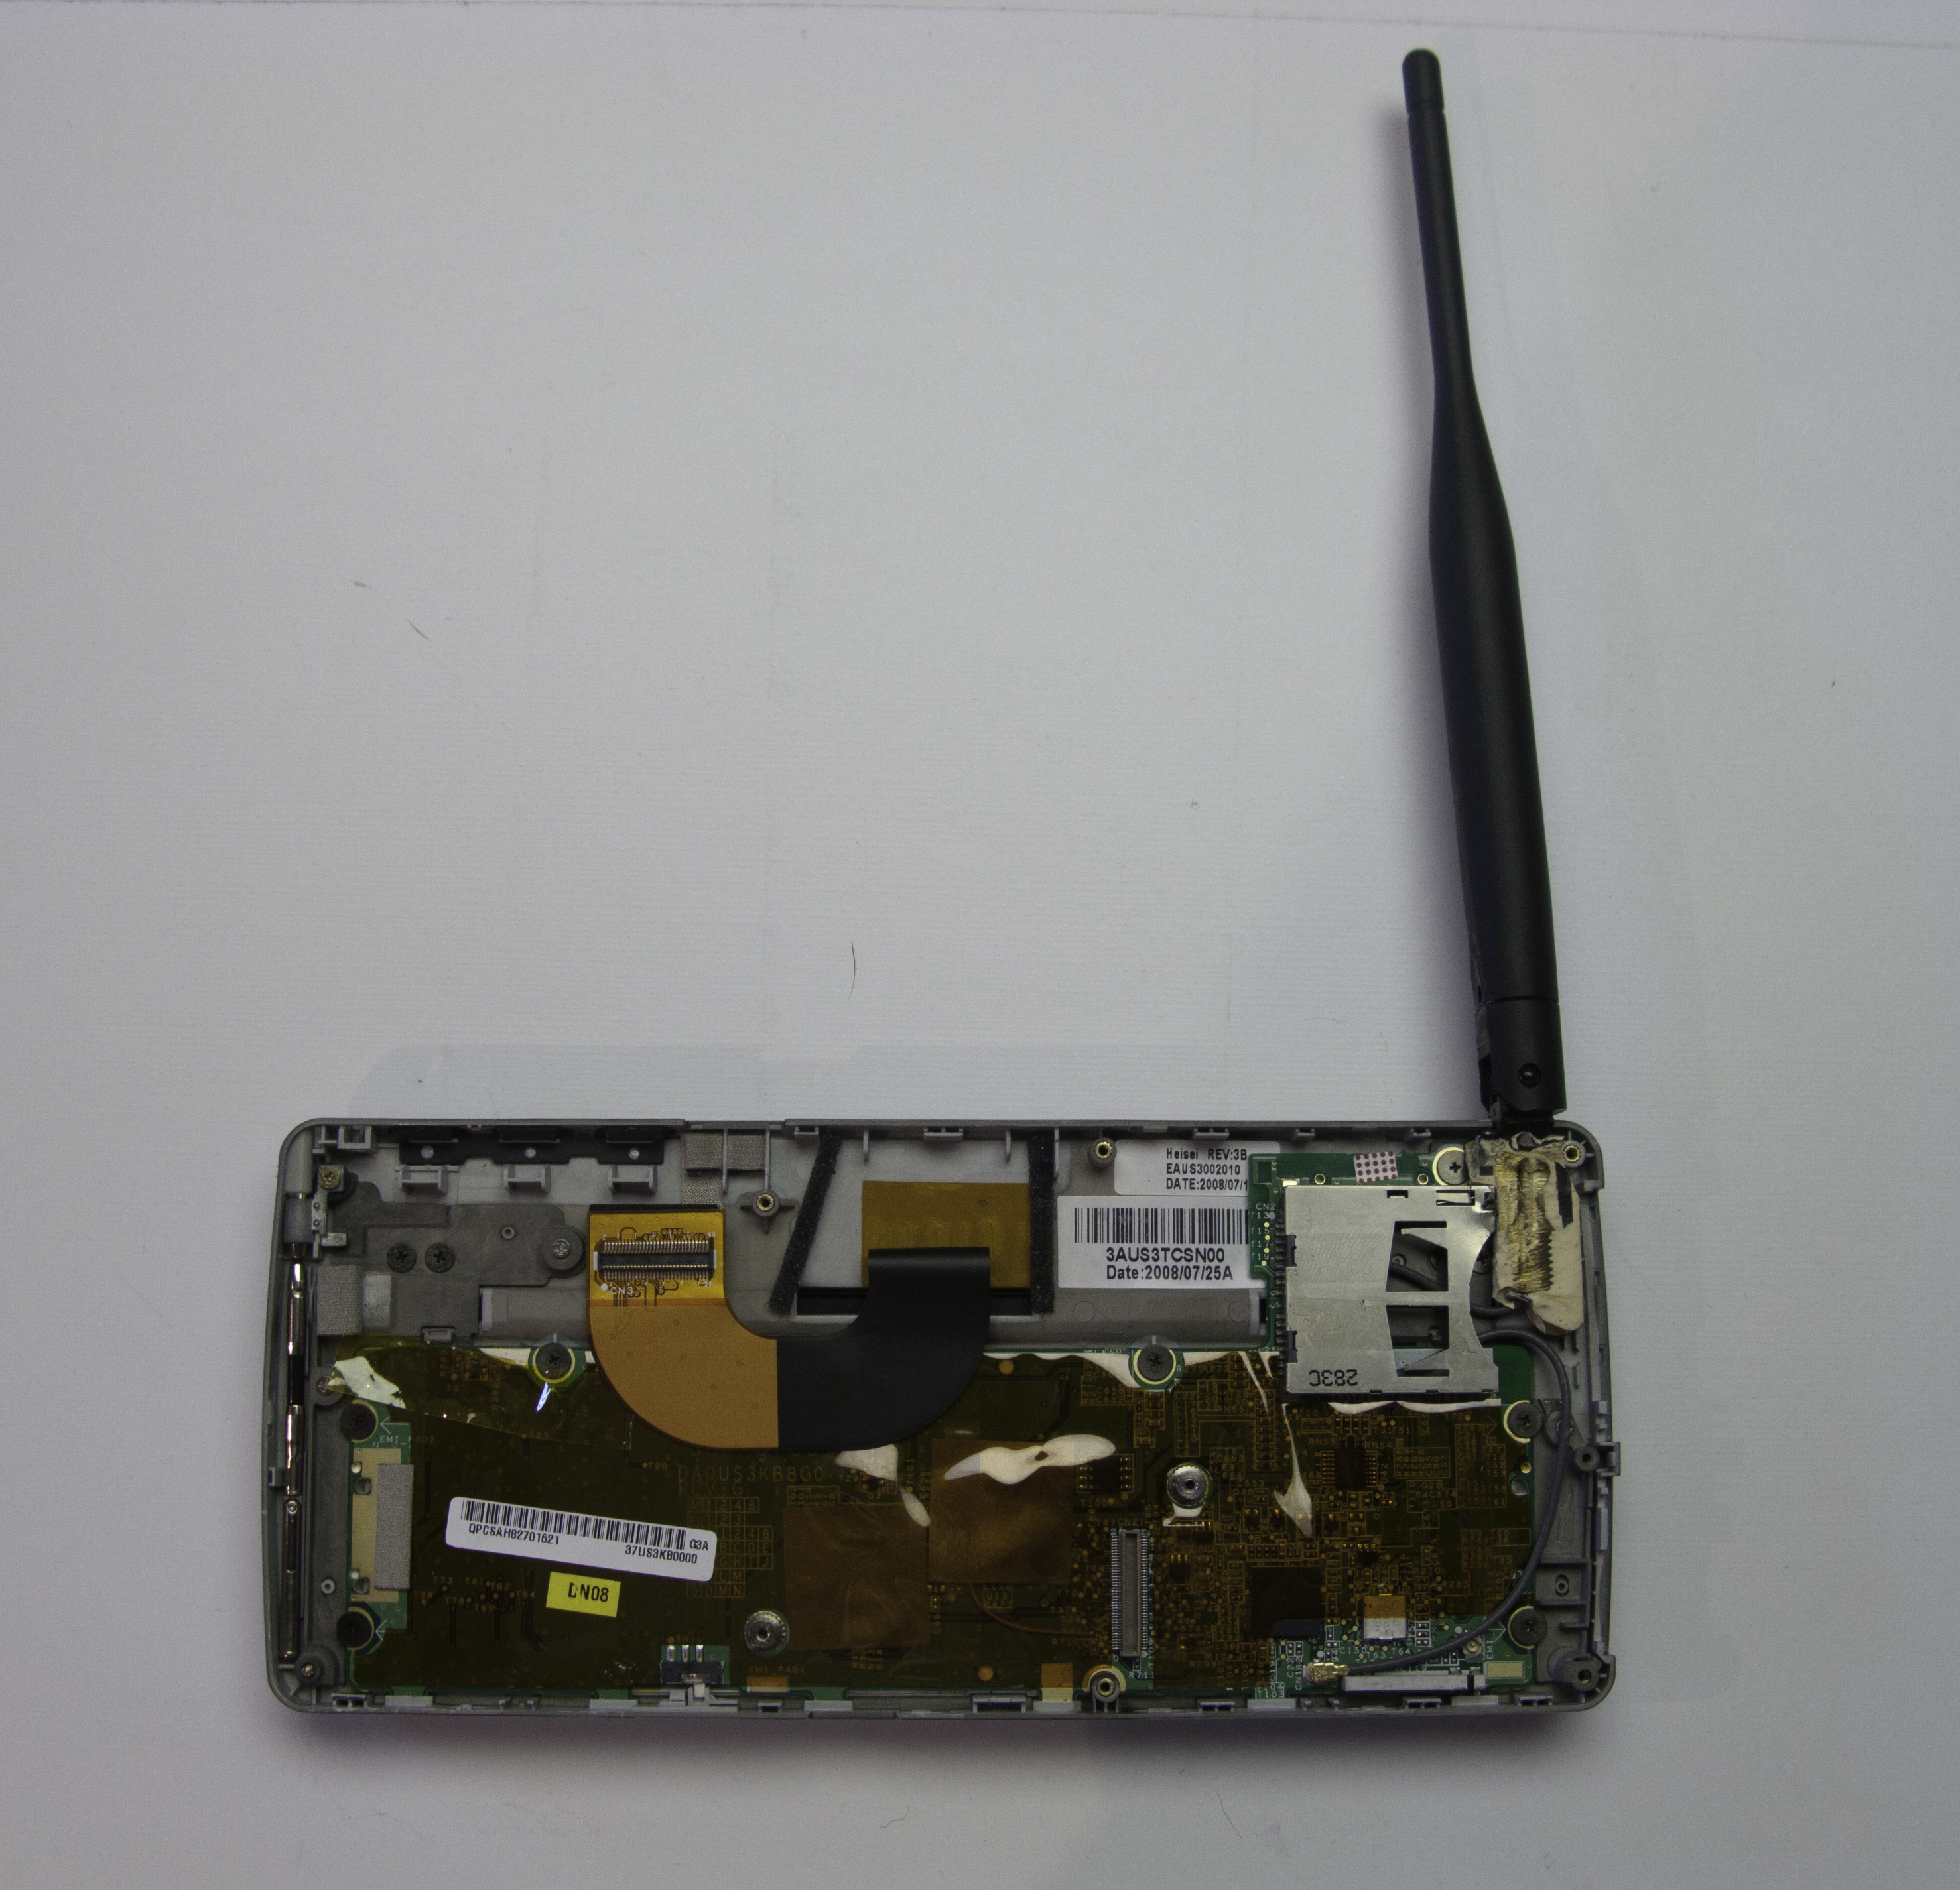
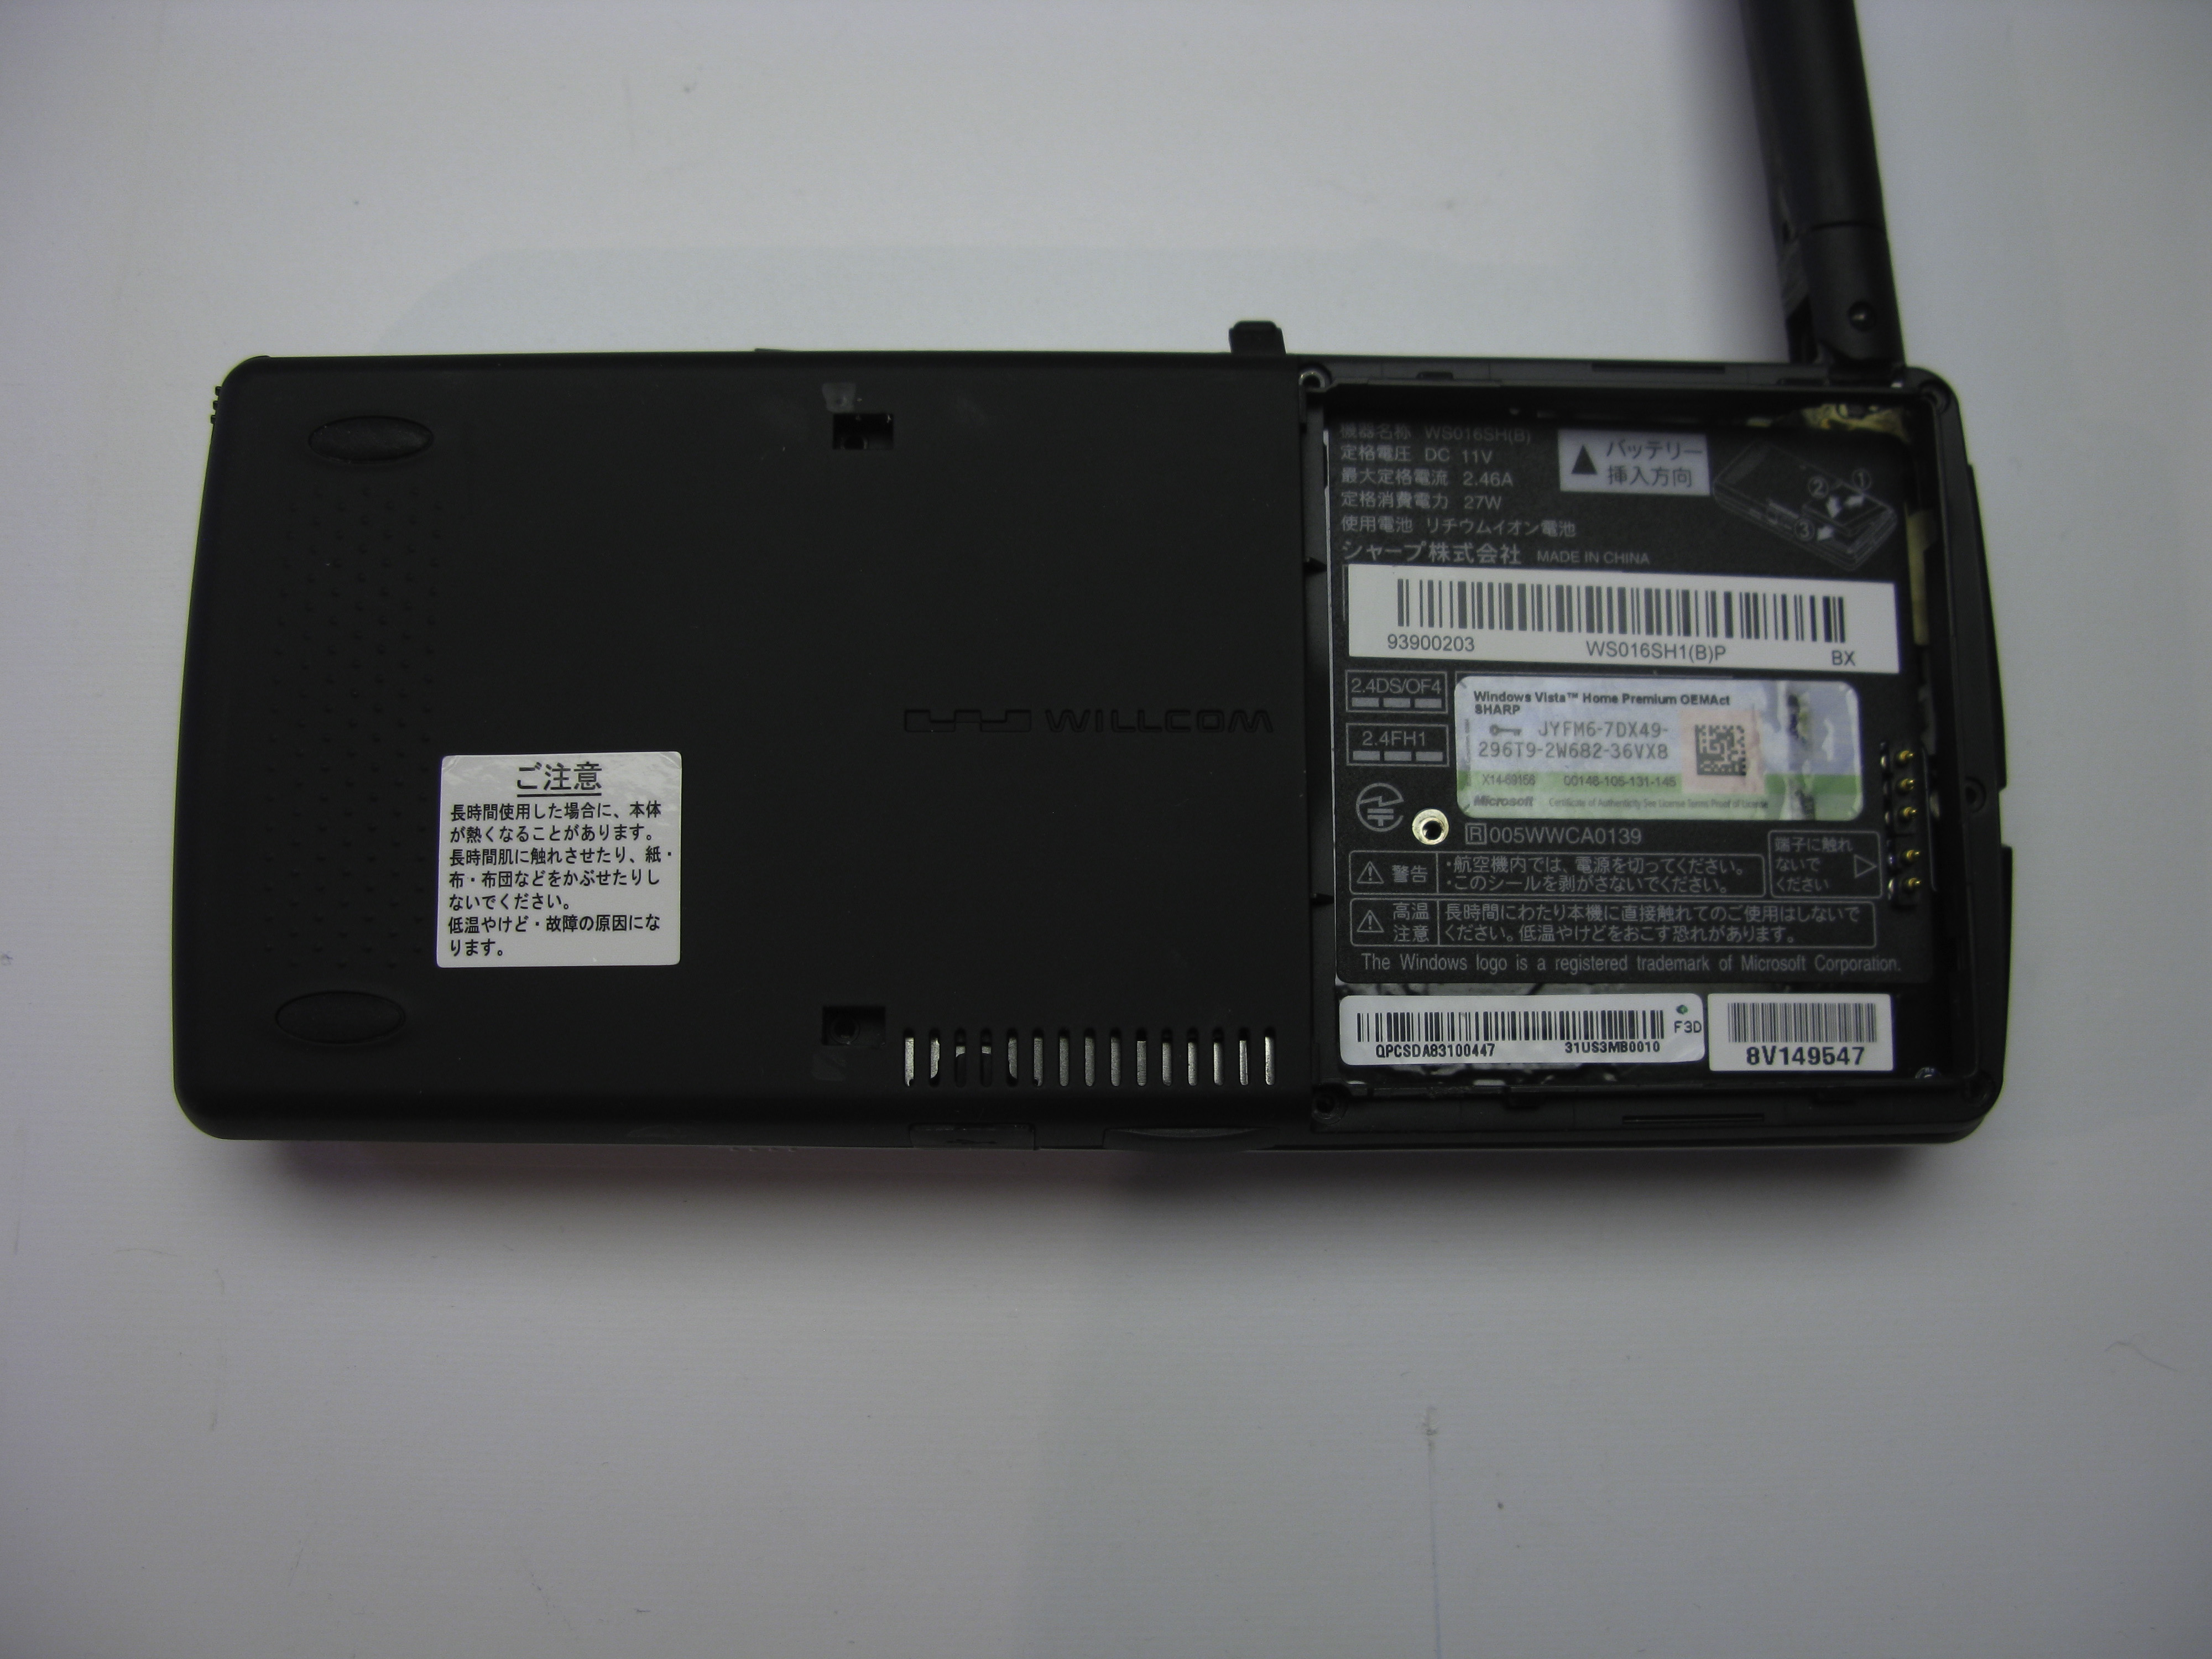
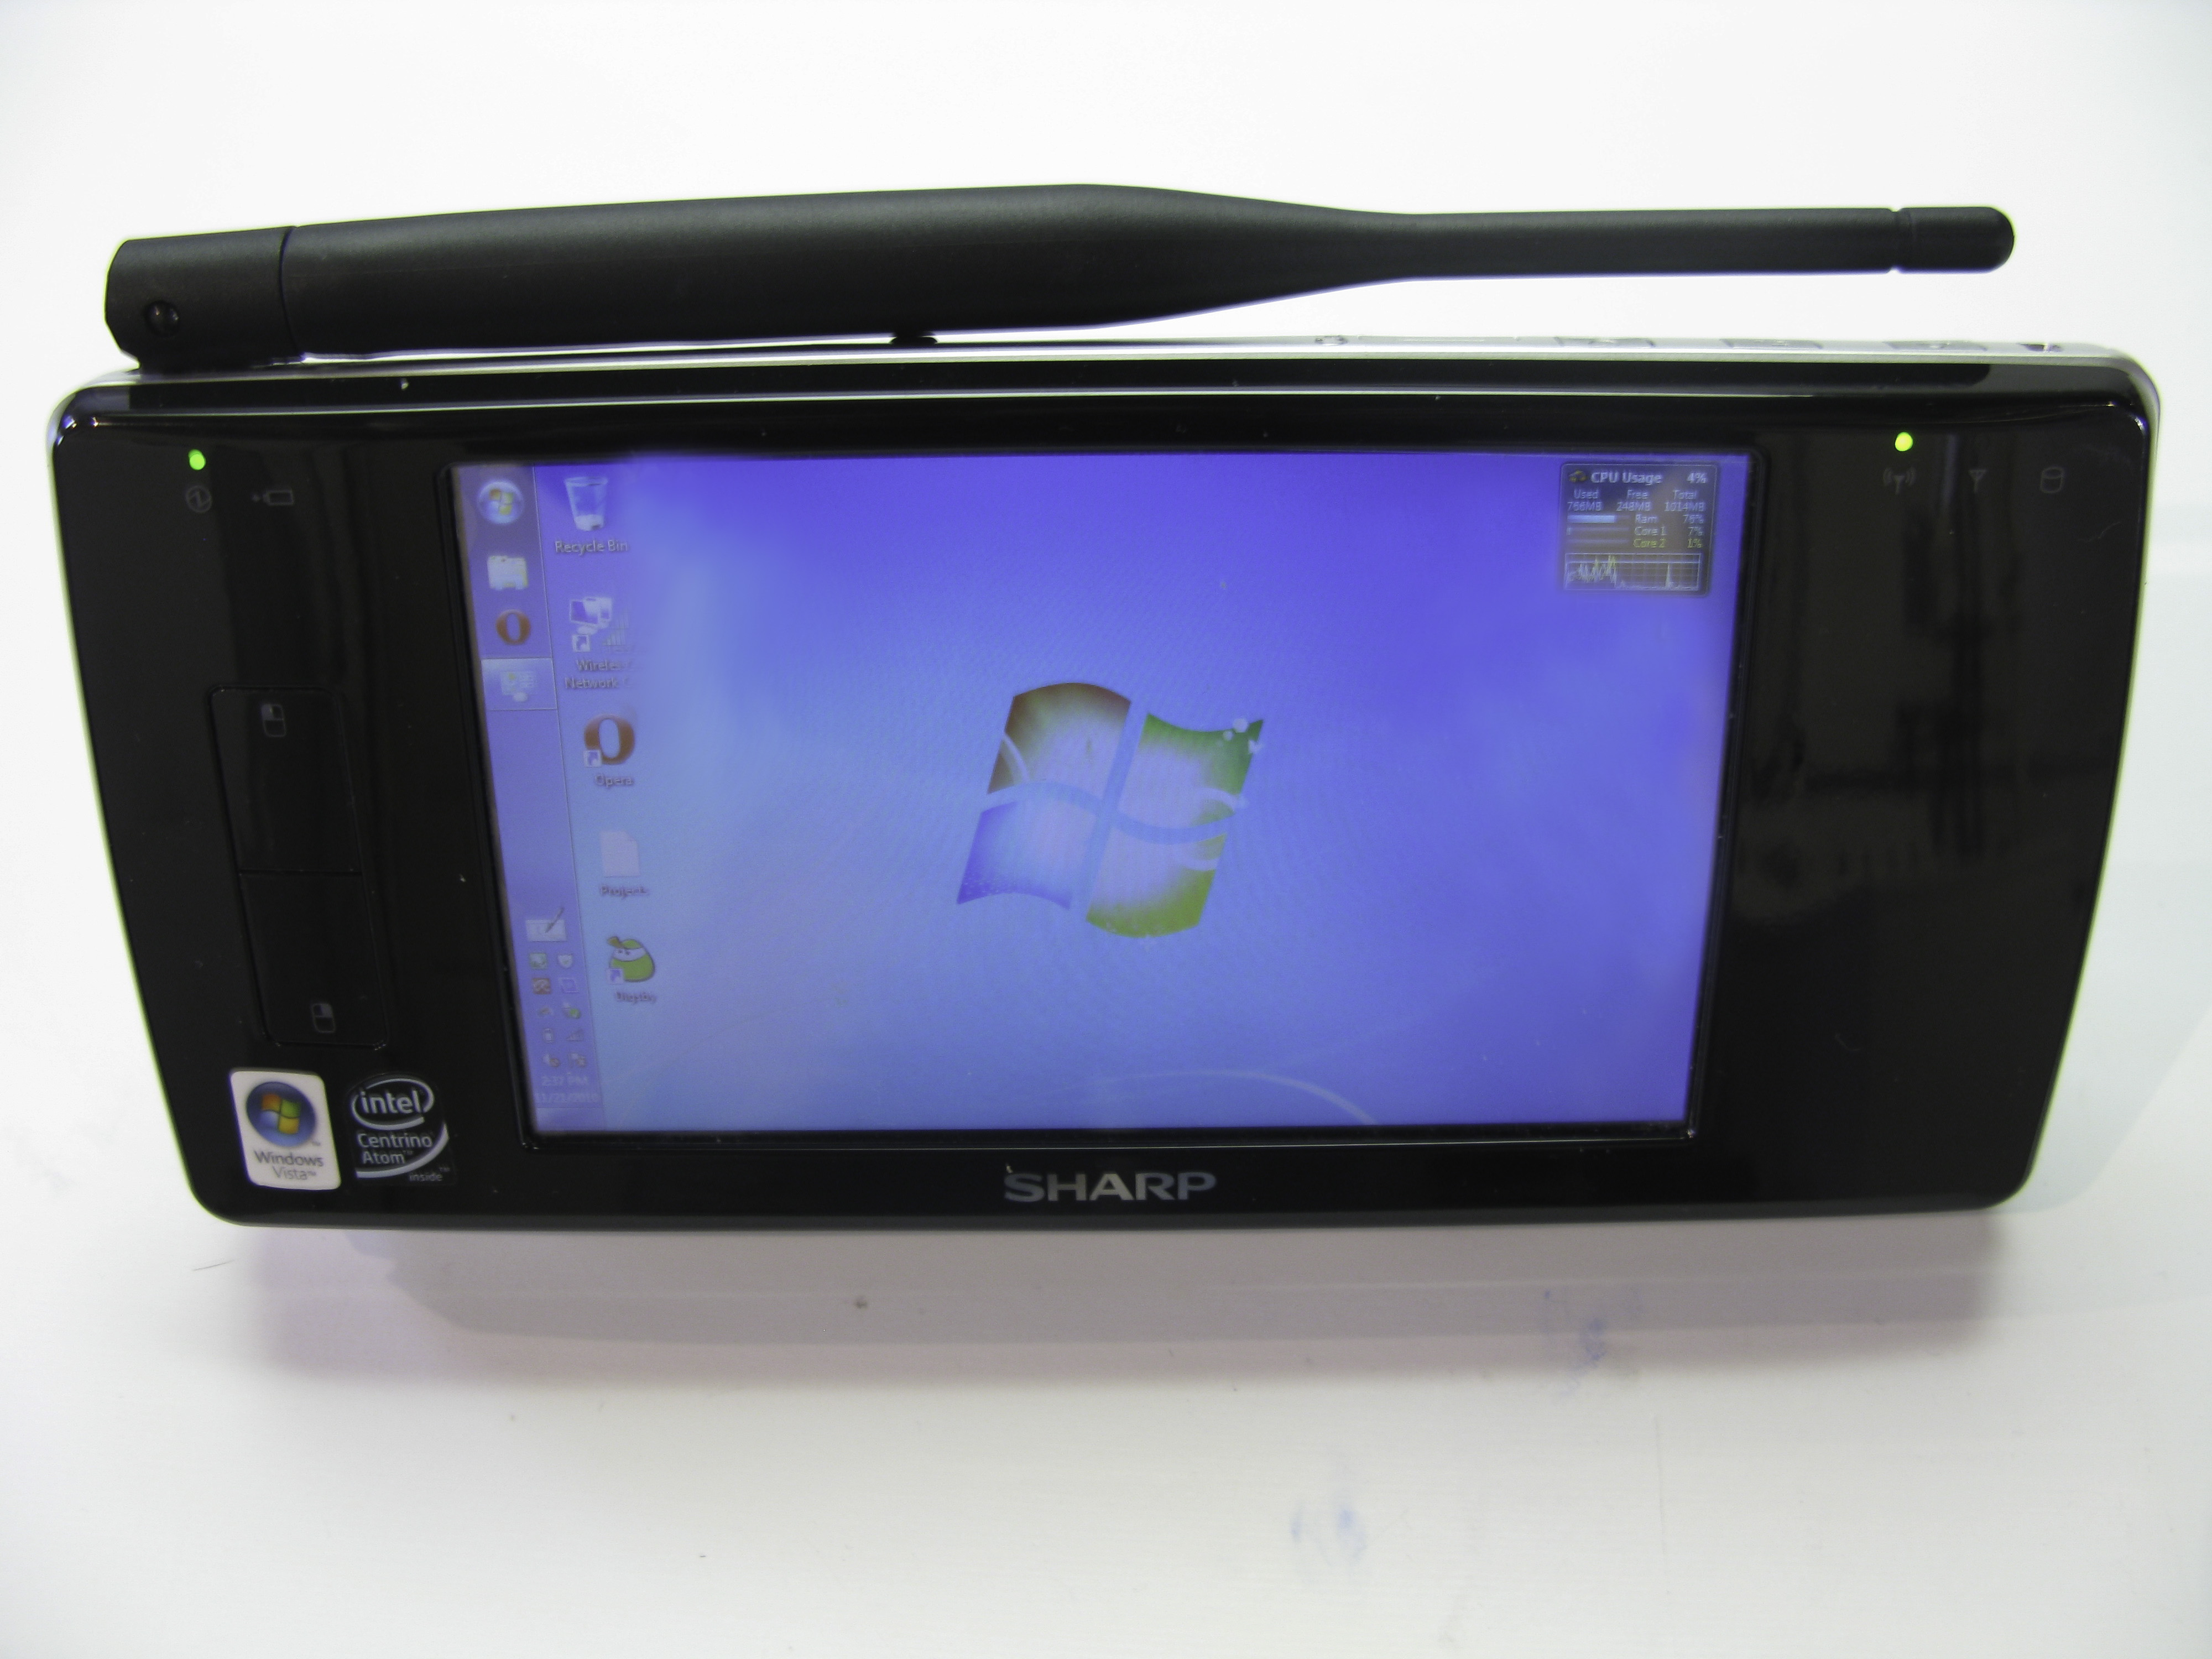
Next I plugged in the connector from the new antenna, and put Will back together for his first test run. After getting Windows booted up, I clicked on the network icon to pull up the available wireless networks. Up to this point in time I had previously only been able to see my own network with about 4 bars and one other network with a strength of 1 bar.
When the network box popped up I was greeted with over 10 networks. Multiple networks had 3-4 bars and my own network now had 5 bars anywhere on my property! Success!
I was stoked how much better the Wi-Fi strength was. I took Will with me the next time I went out and was amazed how many networks I could see. I was almost always able to find a network now I could get onto. This one modification is easily the most useful of any I have done. The antenna folds down perfectly along the top of Will and he still fits in my pocket. While it was not the most straightforward fix and required a little hackery to do, I’m very pleased with the end result.

 29.2k
29.2k
 13.2k
13.2k 7.1k
7.1k

 2.1k
2.1k 813
813 2.6k
2.6k
Comments 4
A solid choice for anyone looking for a reliable gaming spot. Everything works as it should and the rewards are great. phbetpk44
Cassinoonabet… Hmm, not bad, not bad at all. Pretty smooth interface and surprisingly good payouts (from my experience, anyway!). Worth a look if you’re scoping out new online spots. cassinoonabet
Muhdik! Gimme dat!
Thank you, I have recently been searching for information about this topic for ages and yours is the best I have discovered so far.